(日本語版はこちら)
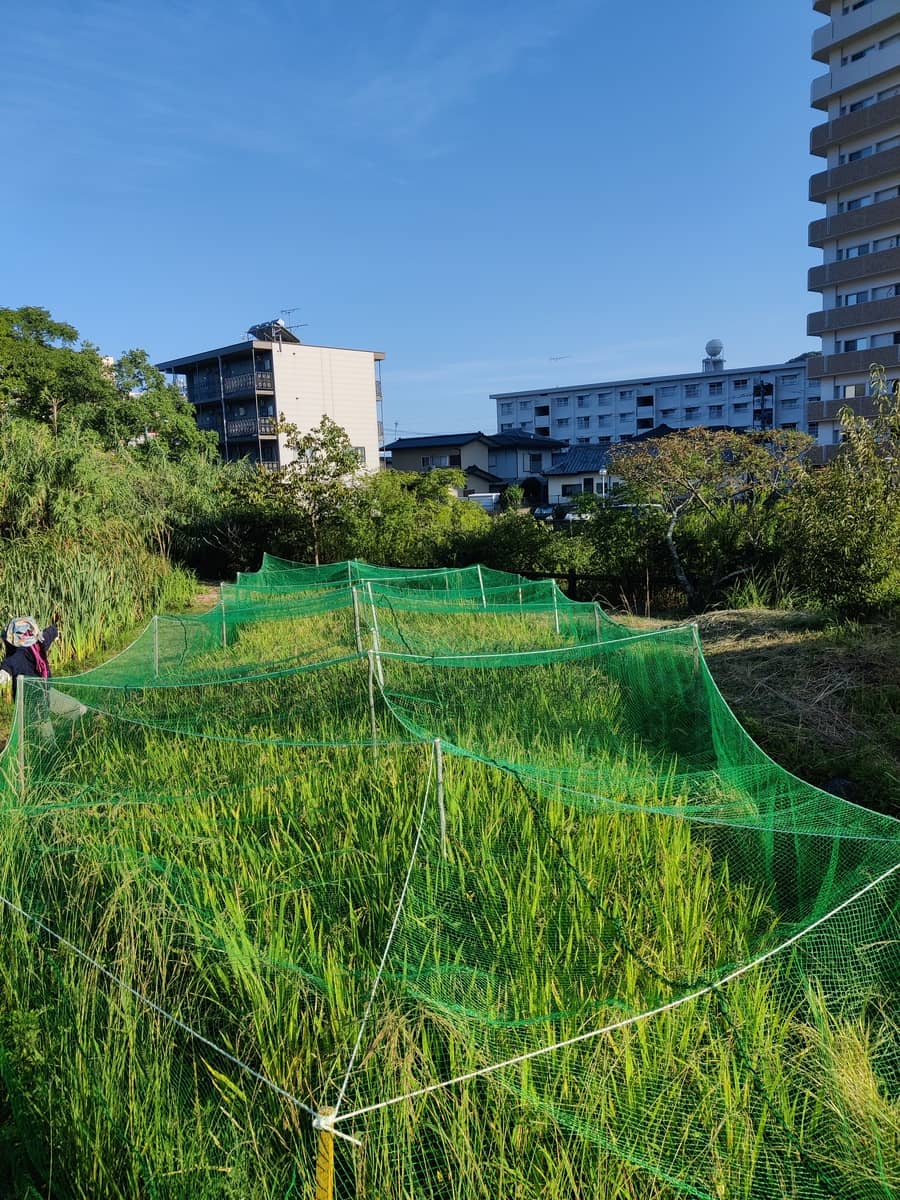
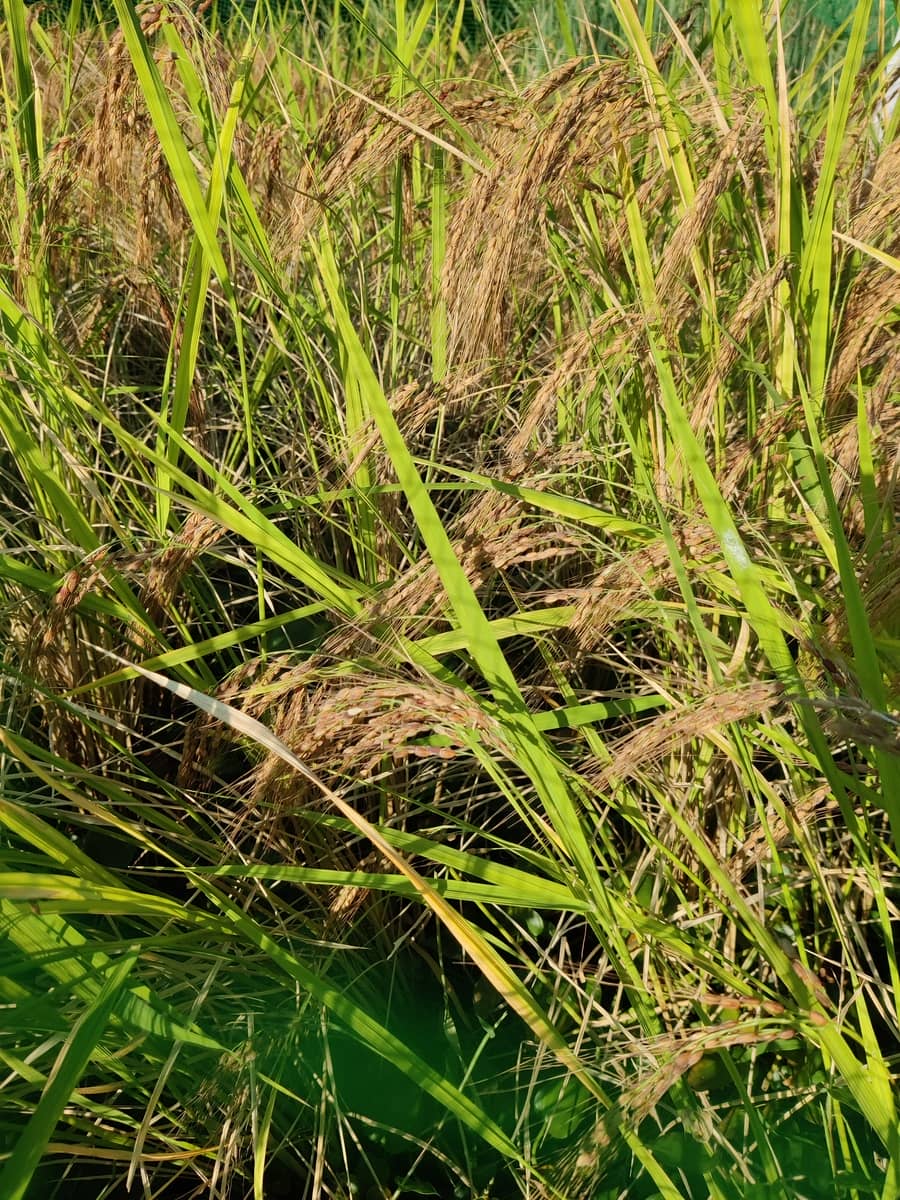
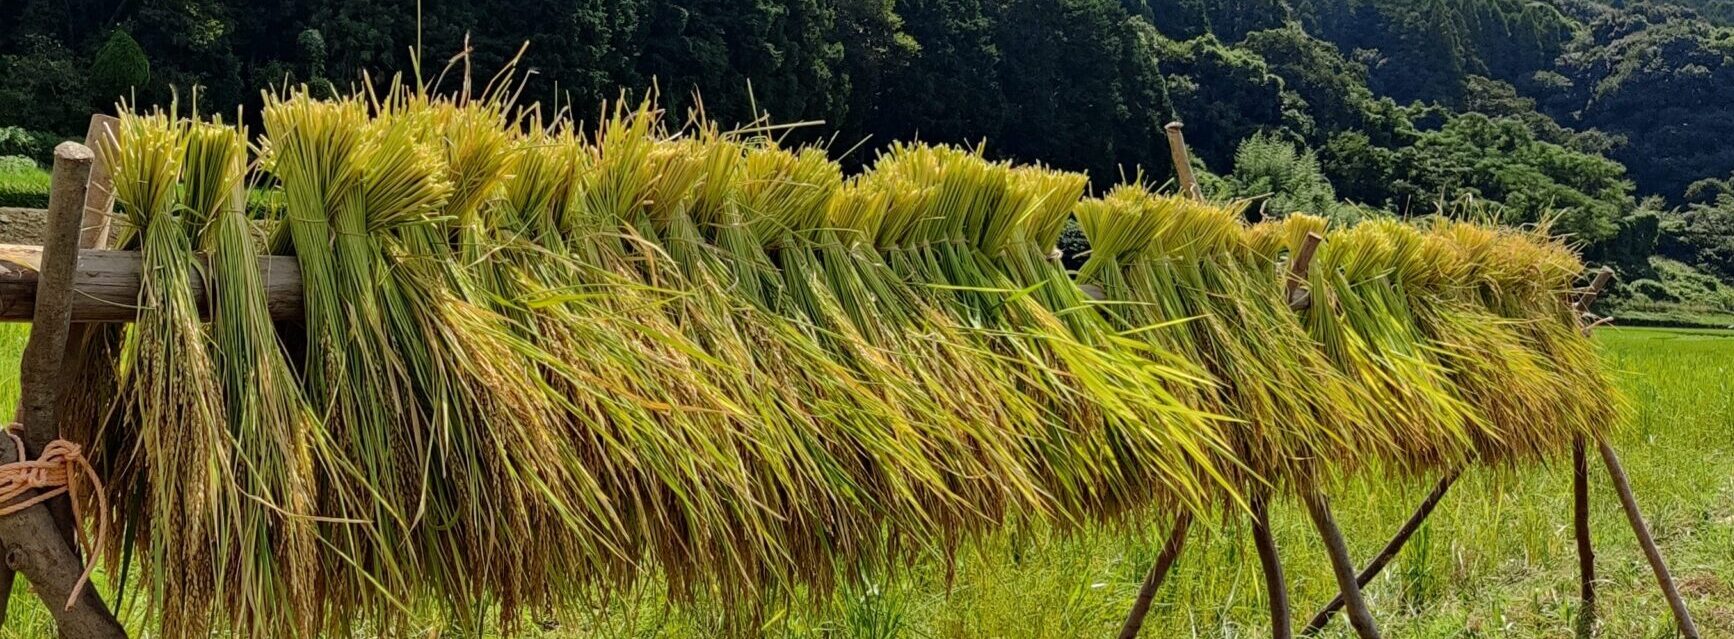
The harvesting was a great success and now we had bundles of dried rice straw with full heads/panicles of rice grains. However, there was still a lot of work to be done before it could be eaten.
First, the grains have to be separated from the straw in a process called threshing. For some grain crops this can be done simply by whacking the bundle against something until the grains fall off. In modern rice agriculture threshing is usually done simultaneously as it’s harvested by a combine. Rice grains harvested like this still need to be dried, so are placed in dedicated machines that provide the perfect drying conditions.
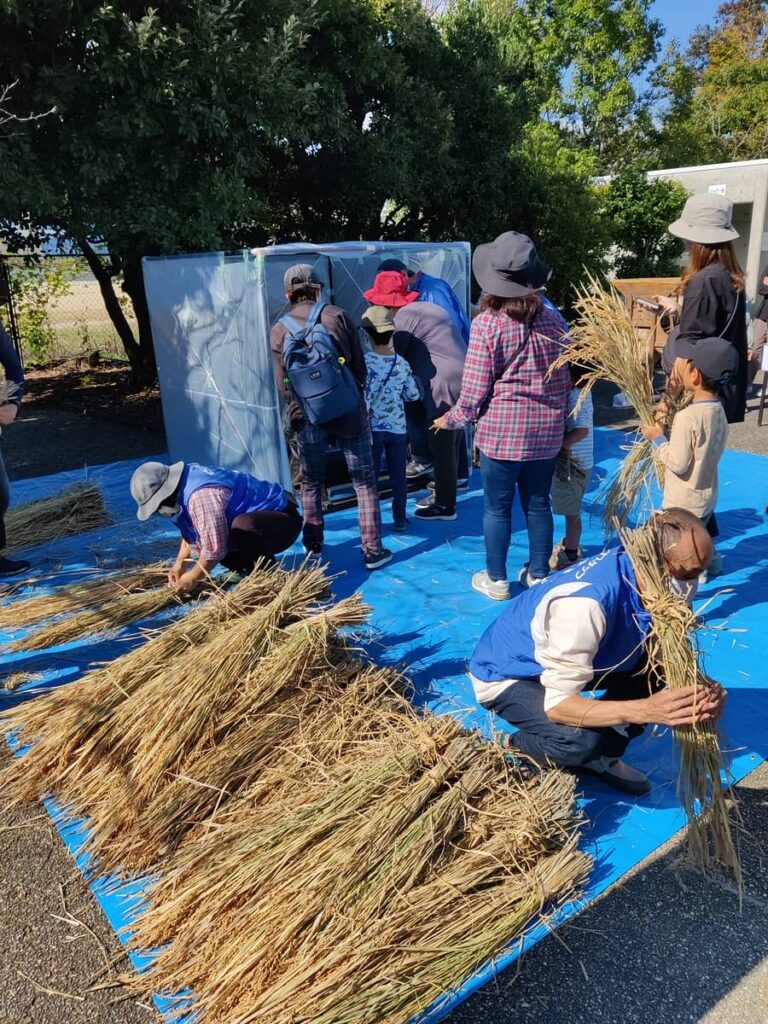
At the Penguin Aquarium, from which I originally received the rice seedlings, they had a foot-powered threshing machine. These have a rotating drum with wire hooks on the outside that pull off the grains from the rice panicle. I went to an event held by the penguin aquarium where you could experience using one.
It was clear that this machine was indispensable for processing the rice harvested even from just the small rice paddy the penguin aquarium had. It also made for a nice event where children could come and have a unique and interesting experience. In addition to the thresher, they also had a machine that is used to separate out chaff and any grains that had failed to fill (you can see what I mean here by looking at the pictures of my drying rice in part 2).
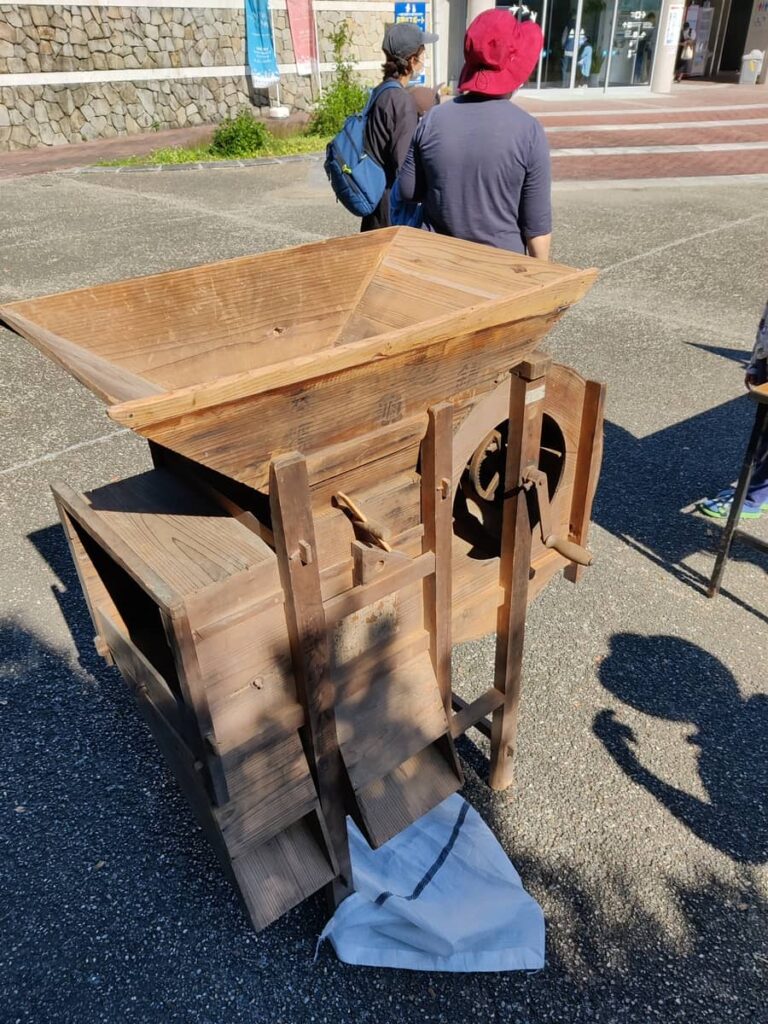
It works by creating an air current by turning a handle connected to paddle wheel. This air current carries the lighter chaff away while the heavier rice grains drop down into the collection chutes. Unfortunately, even these machines were out of the scope of my small project and I would need to find another way to process the rice by hand.
Referring to a guide by the Japan Agricultural Cooperatives (JA) there is an even simpler way to thresh the rice by using empty drinks cartons. By putting the rice panicle inside the carton and pinching the mouth of the carton closed around the straw, you can slowly pull the panicle out and knock off the grains into the bottom of the carton. If you do this well so all of the grains come off in one go it’s very satisfying.
Once the grains have been collected the next step is to remove their hulls/husks. Again, in modern agriculture this is done with large machines that process huge volumes of rice. There are smaller electric hulling machines available too, but I would be very interested to see what traditional hand powered machines would be like (some people have made their own). The Penguin Aquarium didn’t have any kind of hulling machine and after threshing all their rice they apparently take the grains to a coin rice processing machine (コイン精米機). These can sometimes be found in the countryside by the side of the road and most of them only turn brown rice into white rice, but sometimes you get one like this which can also hull the rice.
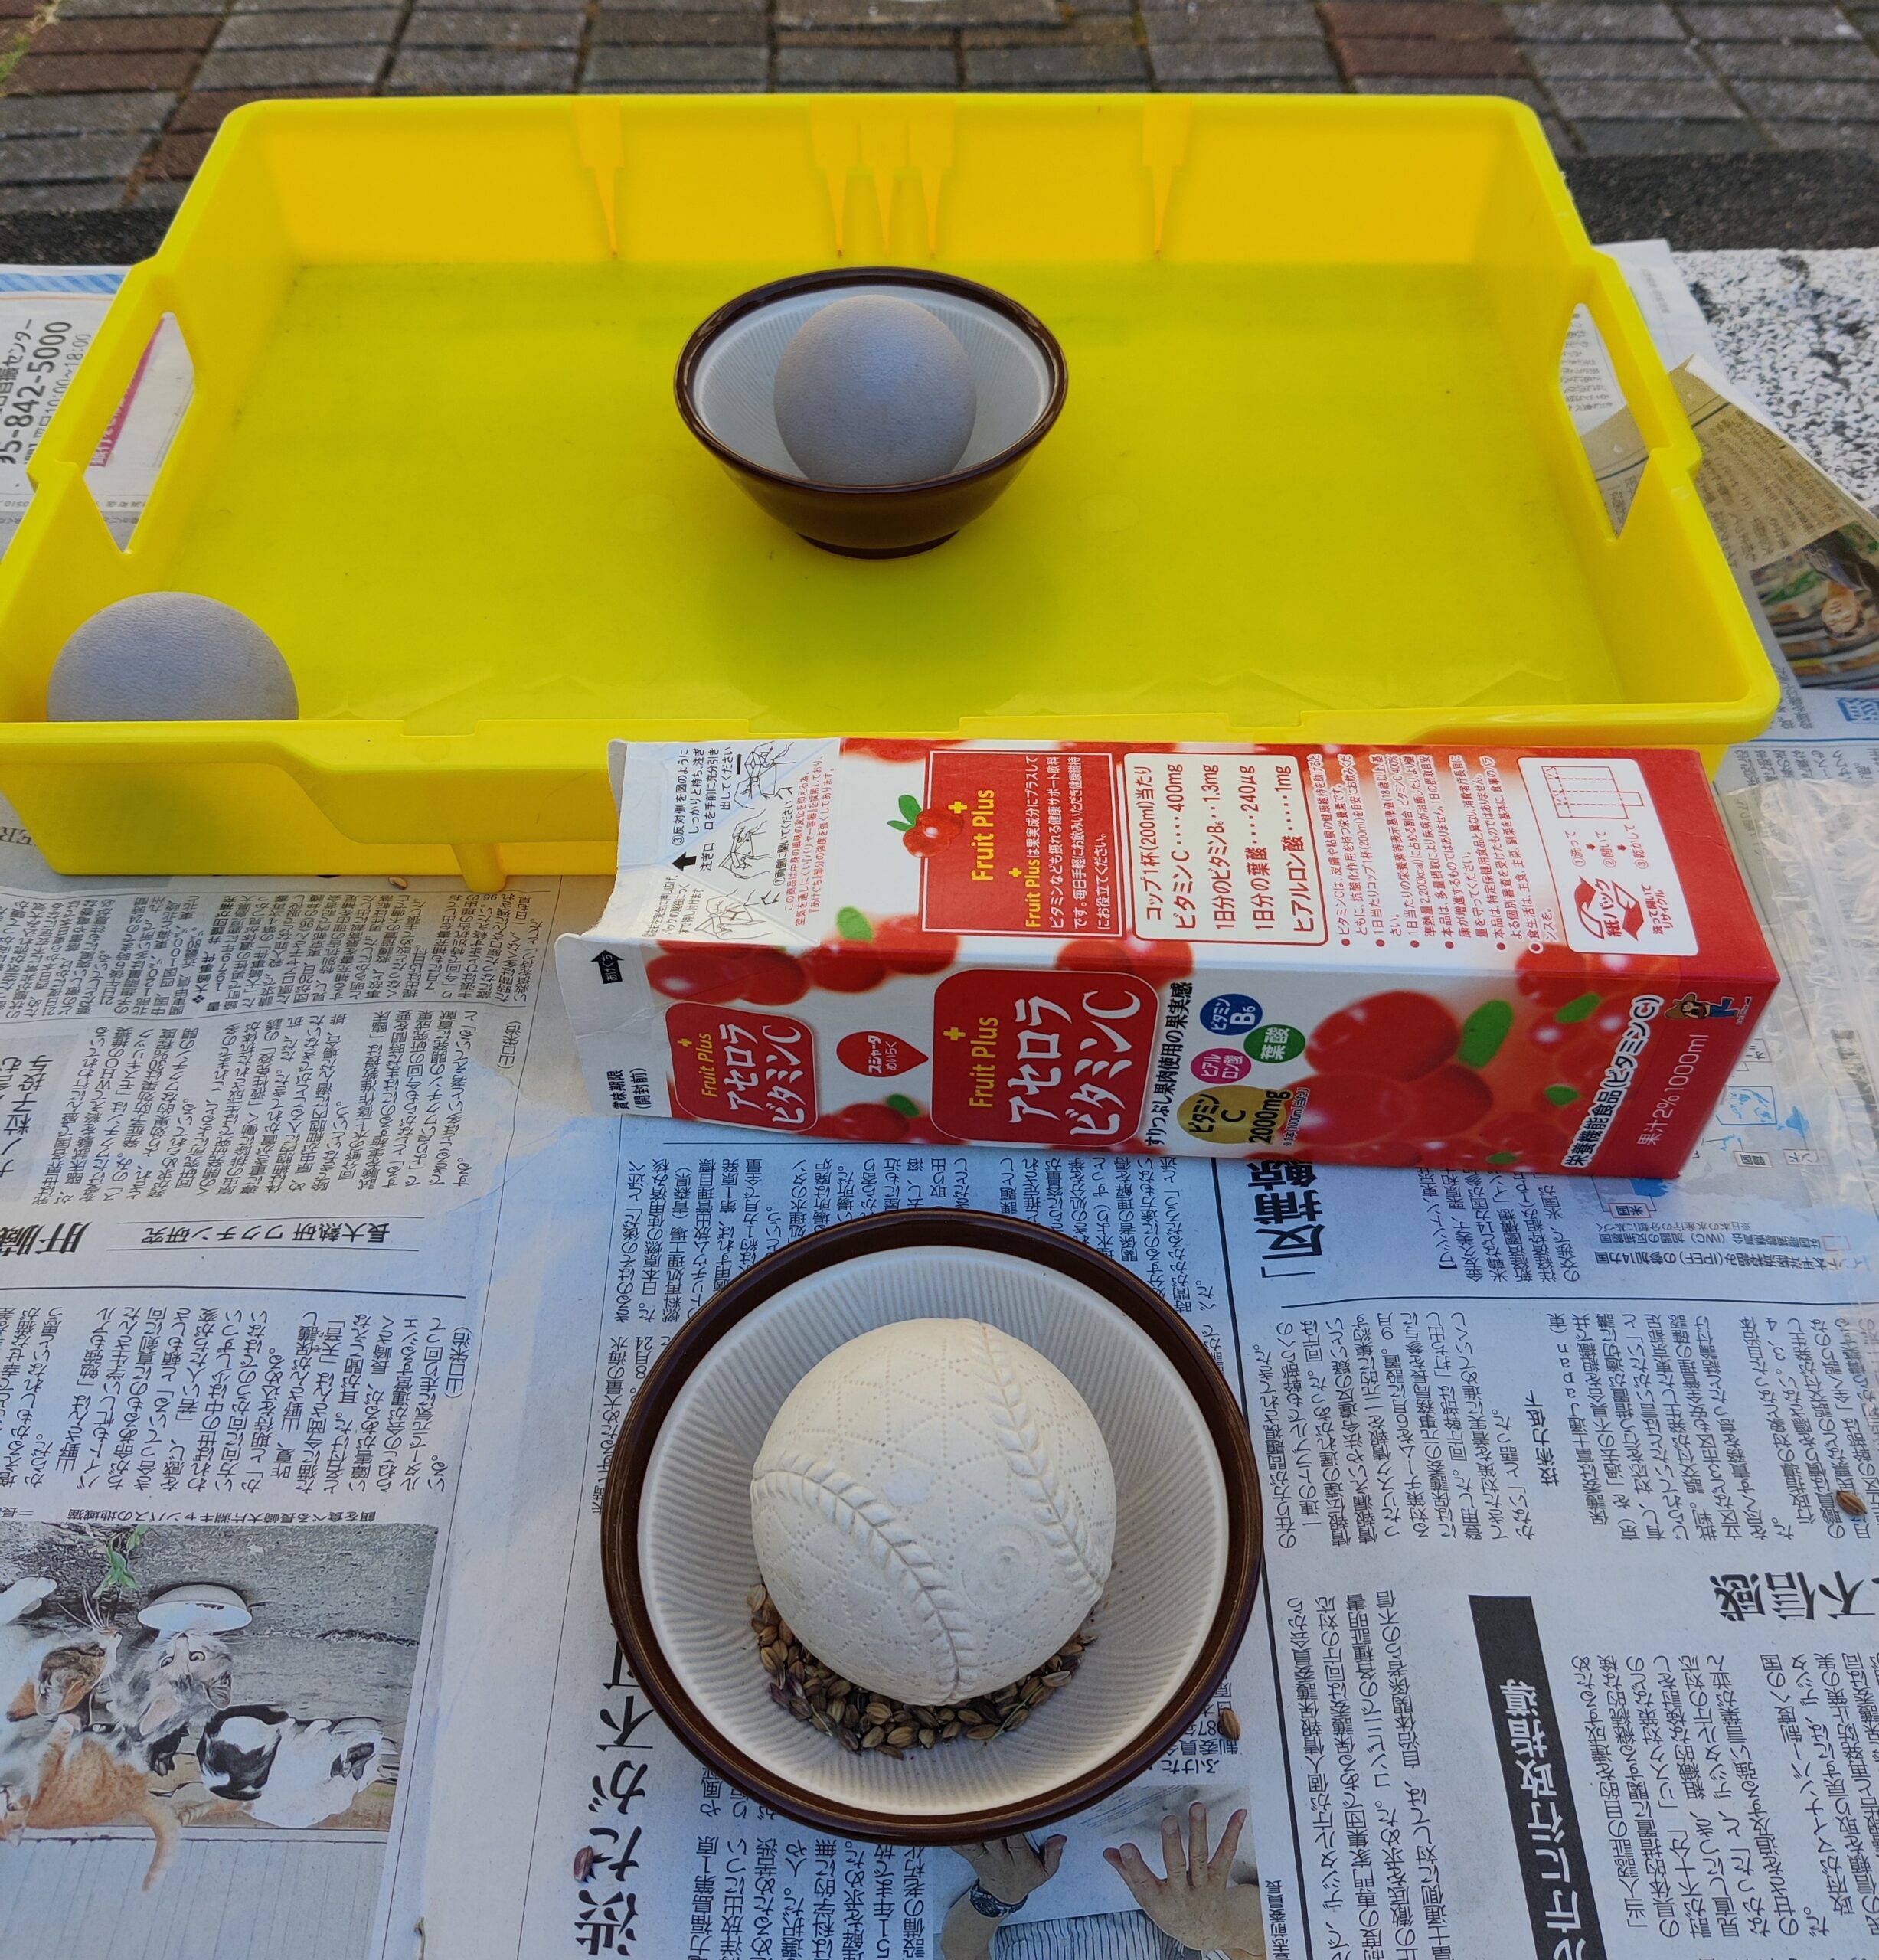
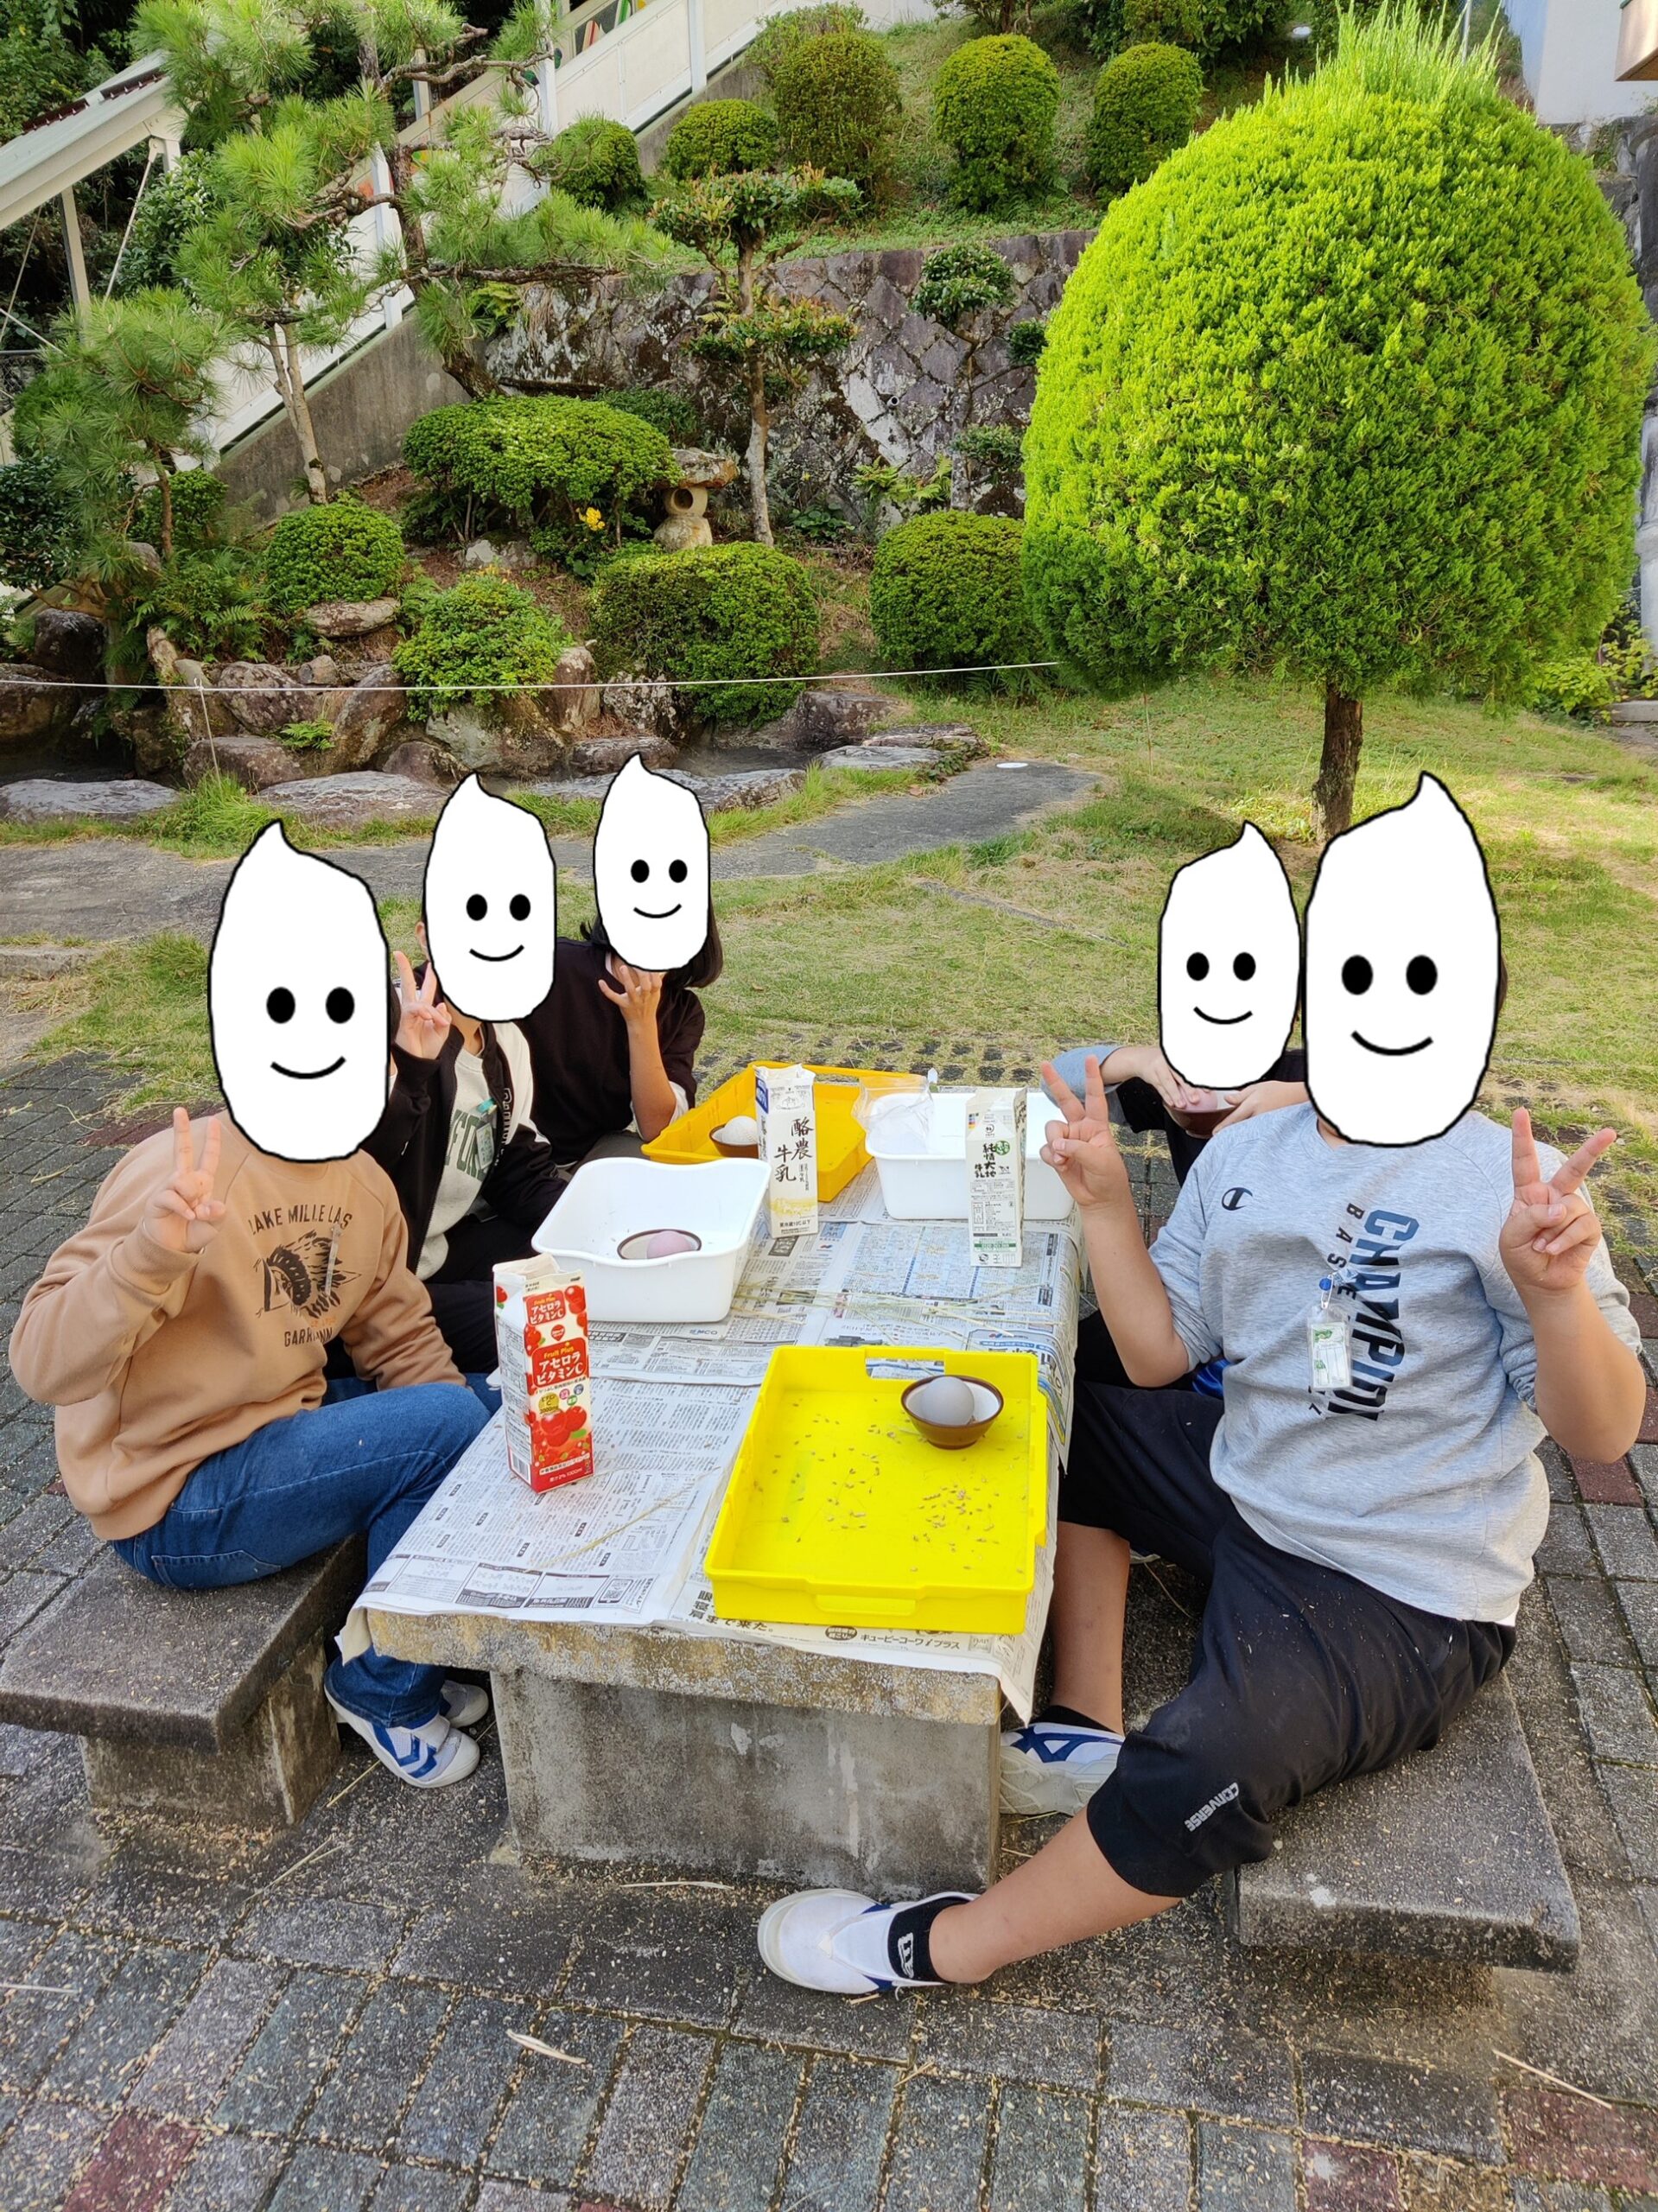
In my case, I referred again to the JA guide for a hulling method. They recommended gently grinding the grains in a mortar with a baseball until the hulls are broken off. It was clear that this would be a lot of work, and I hoped that by involving the children I could spark their interest while also reducing the amount of hulling I would have to do!
I bought the mortars and balls from Daiso (a 100 yen shop) and although they had some surprisingly good quality (if a bit small) mortars, they didn’t have any baseballs. Instead, I decided to go with some rubber ‘Relaxation balls’ which proved adequate.
Once I had finished preparations and made sure the method worked, I made an announcement in the school and got students to come and give it a go. For some of the children, especially the younger ones, it was rather difficult to hull the rice using this method. I think there is a somewhat of a knack to it. The small size of the mortars also meant that a lot of the grains would get spilled. Due to this, and the fact I had a limited number of mortar-ball sets, progress was a lot slower than I had hoped. It was clear that it would take more than a few lunchtime events to get all the rice hulled.
From that point on I would spend almost every lunchbreak at my school sitting by myself on a stone bench outside hulling rice. I would recruit the occasional student passer-by but progress was painfully slow. It did however give me the chance to enjoy the beautiful Japanese Autumn weather.
I was saved from this hulling purgatory by some 6th grade students, who after trying it once, got really interested (and proficient) in hulling the rice and frequently came to help. With their assistance I was able to finish before the end of the year.
After removing the hull, if this was a regular rice variety, you would have brown rice. White rice could then be made by further removing the outer layer (bran) of the grain. Methods of doing this by hand include putting the rice into a glass bottle and repeatedly inserting a stick to gradually break the bran off. The resulting rice bran powder can be used for various things including as a fertiliser and as an ingredient for pickling vegetables.
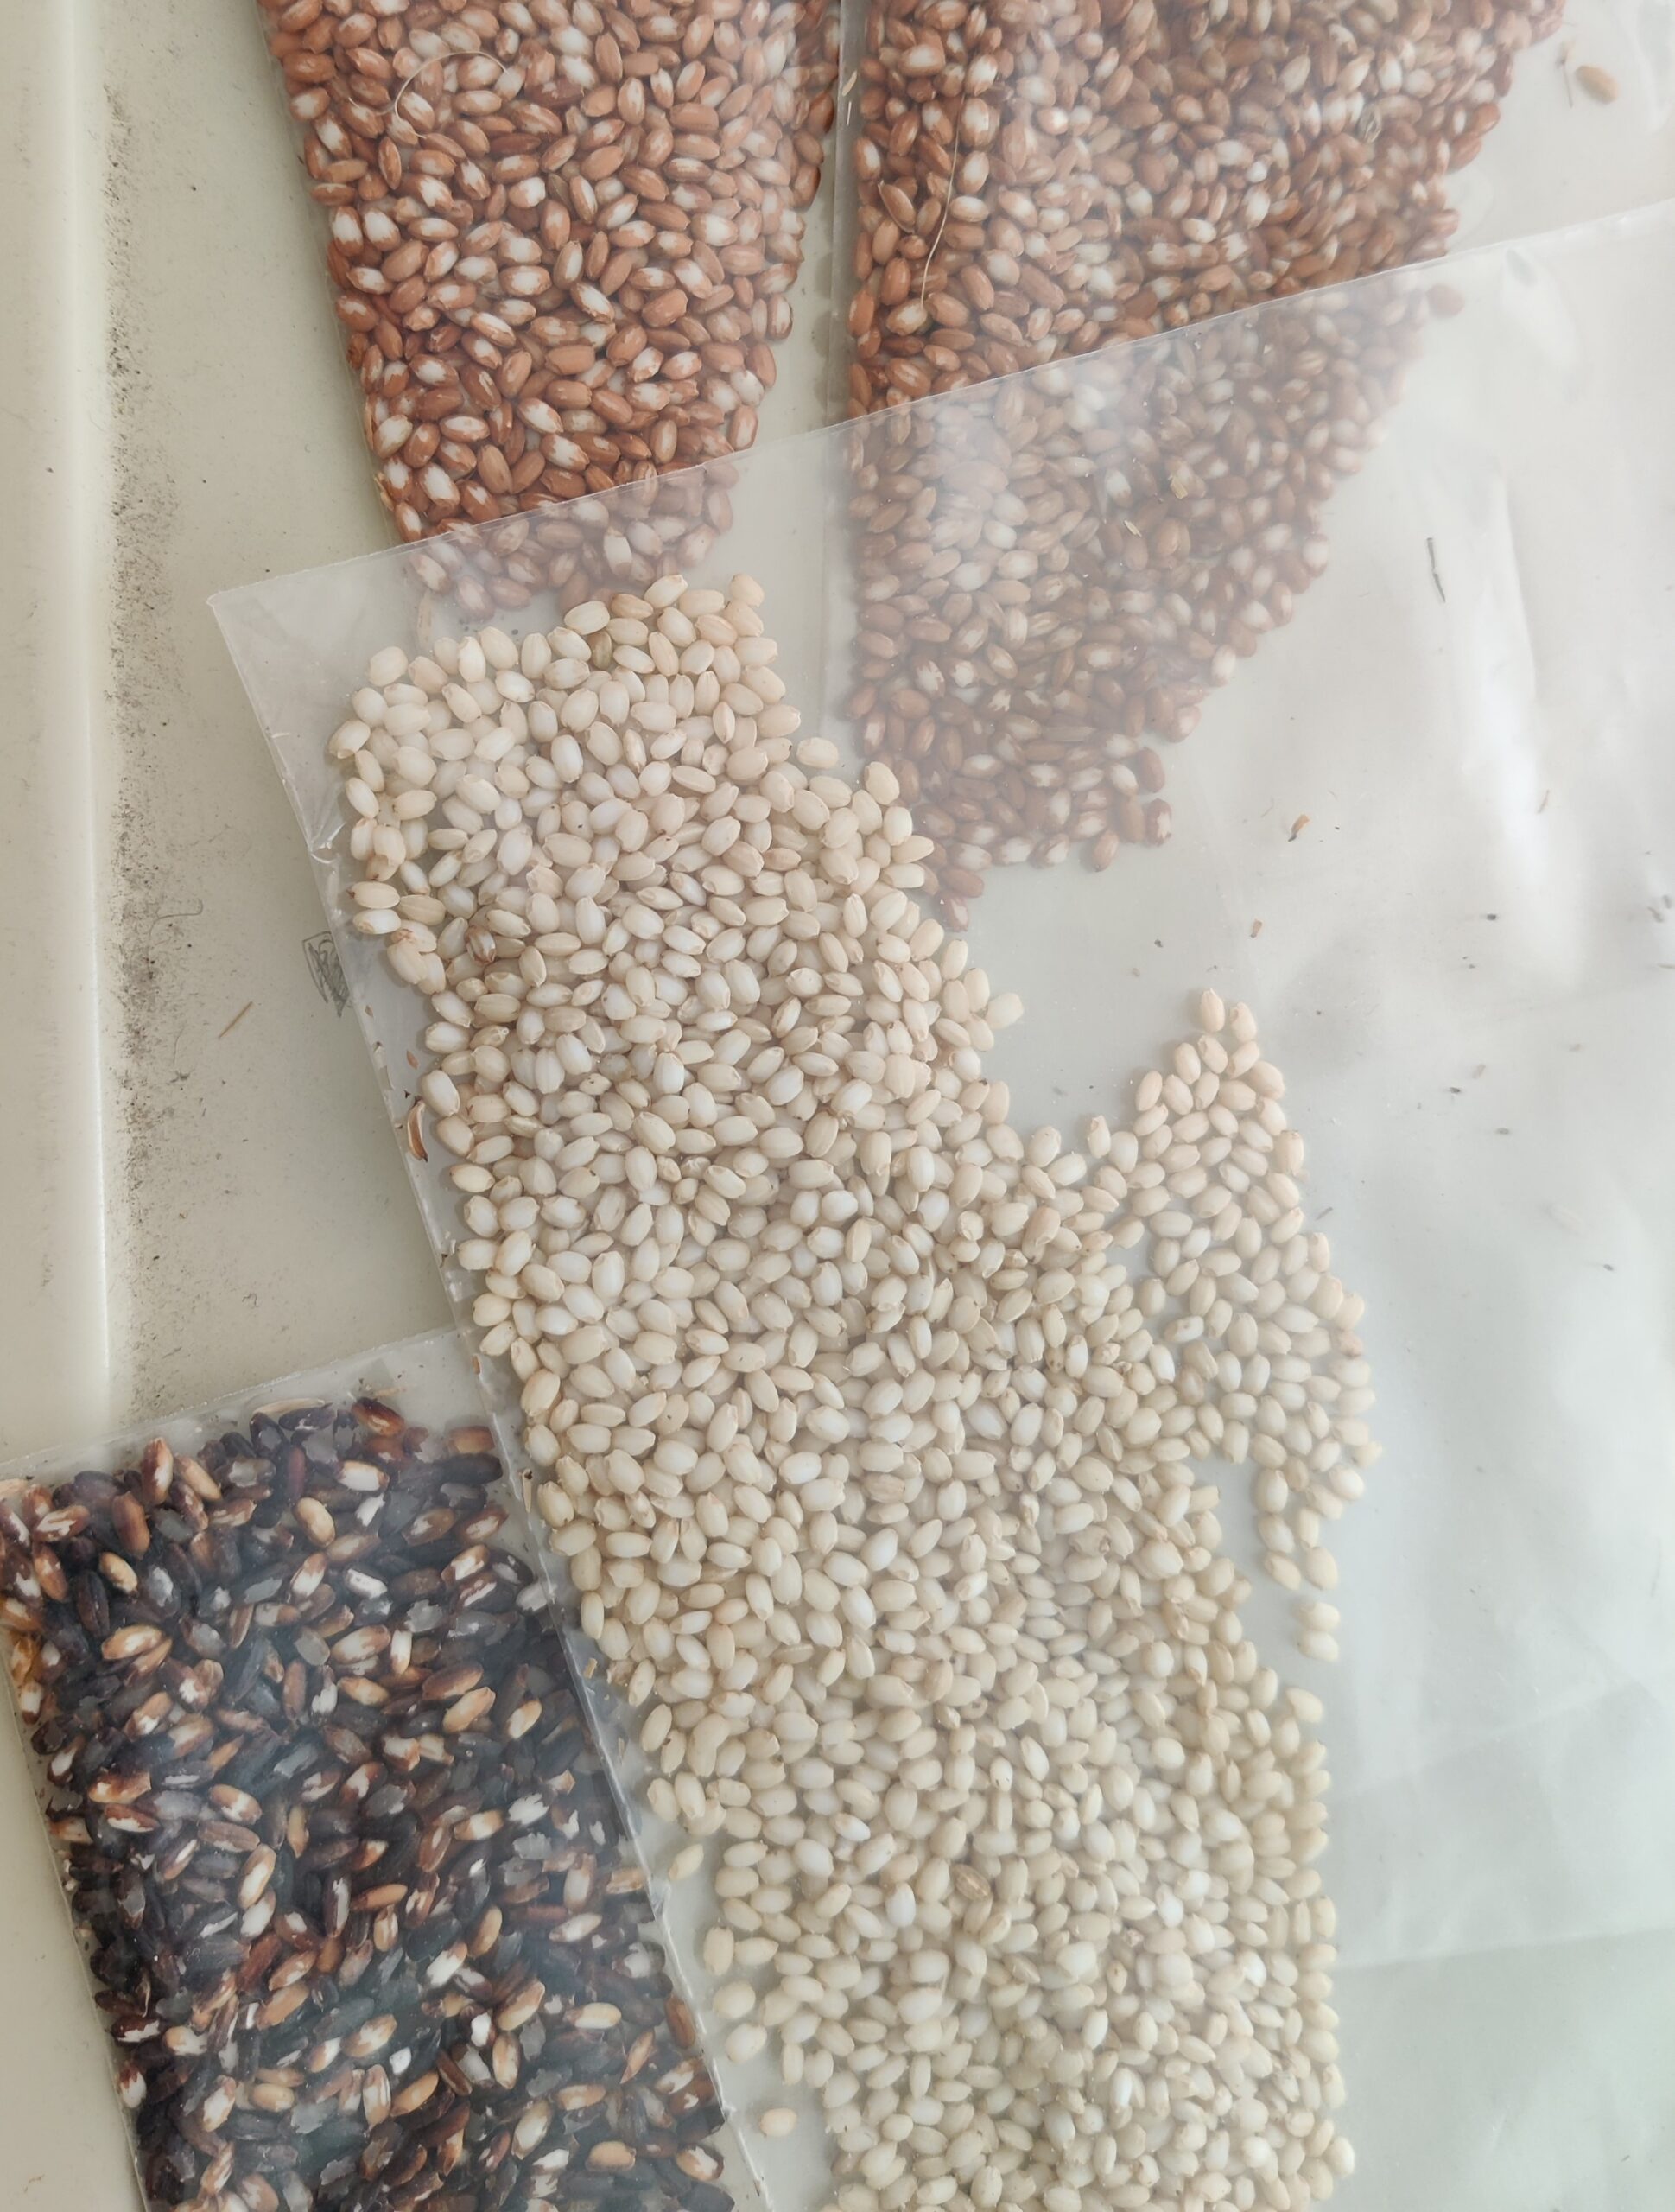
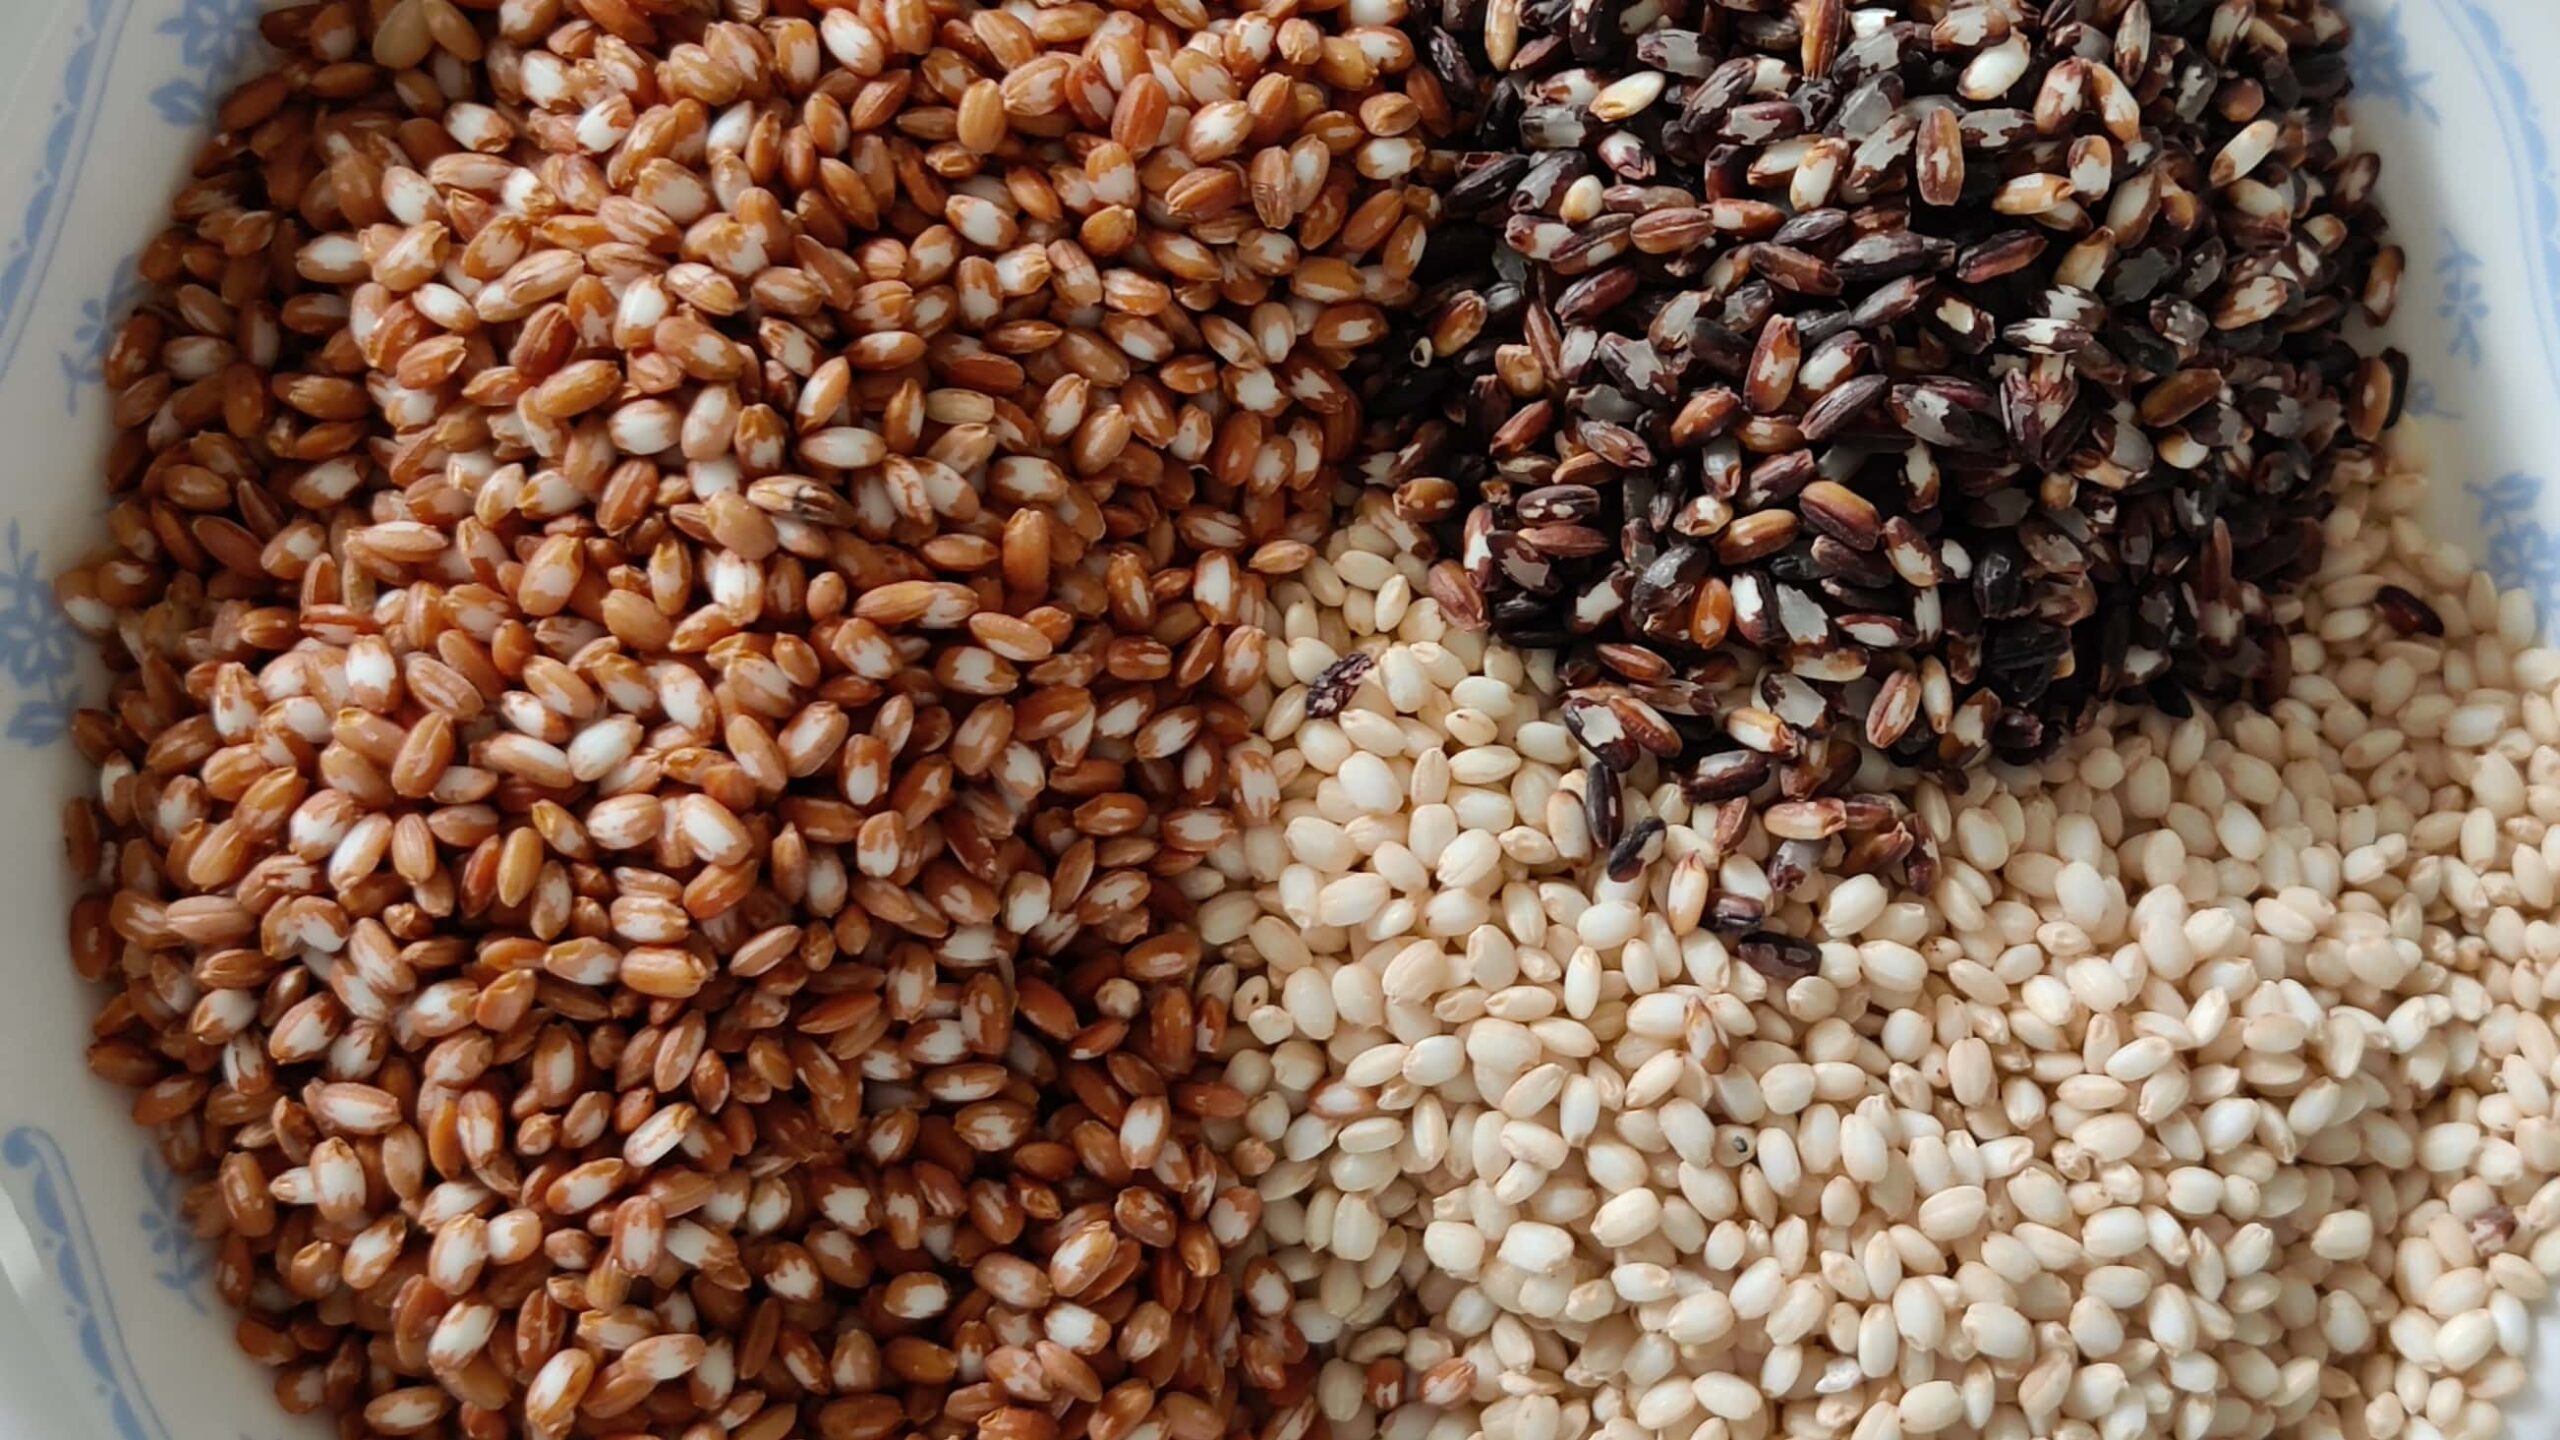
You can see in the cover picture of this post that the bran is where most of the colour of these rice varieties comes from. Where the bran has been inadvertently removed during hulling you can see the white endosperm of the grain underneath.
| Red Rice | Black Rice | Green Rice | |
| Bucket 1 | 35g | 26g | 36g |
| Bucket 2 | 23g | 16g | 32g |
| Bucket 3 | 35g | / | 36g |
Originally, I wanted to cook the different varieties of ancient rice separately so as to see what the difference in taste was like. However, as the amounts of each variety were pretty small, it would have been a lot more effort than it was worth. Instead, I mixed all the rice together, washed it thoroughly (there was a lot of debris mixed in from threshing and hulling), and cooked it in a rice cooker with a generous amount of water.
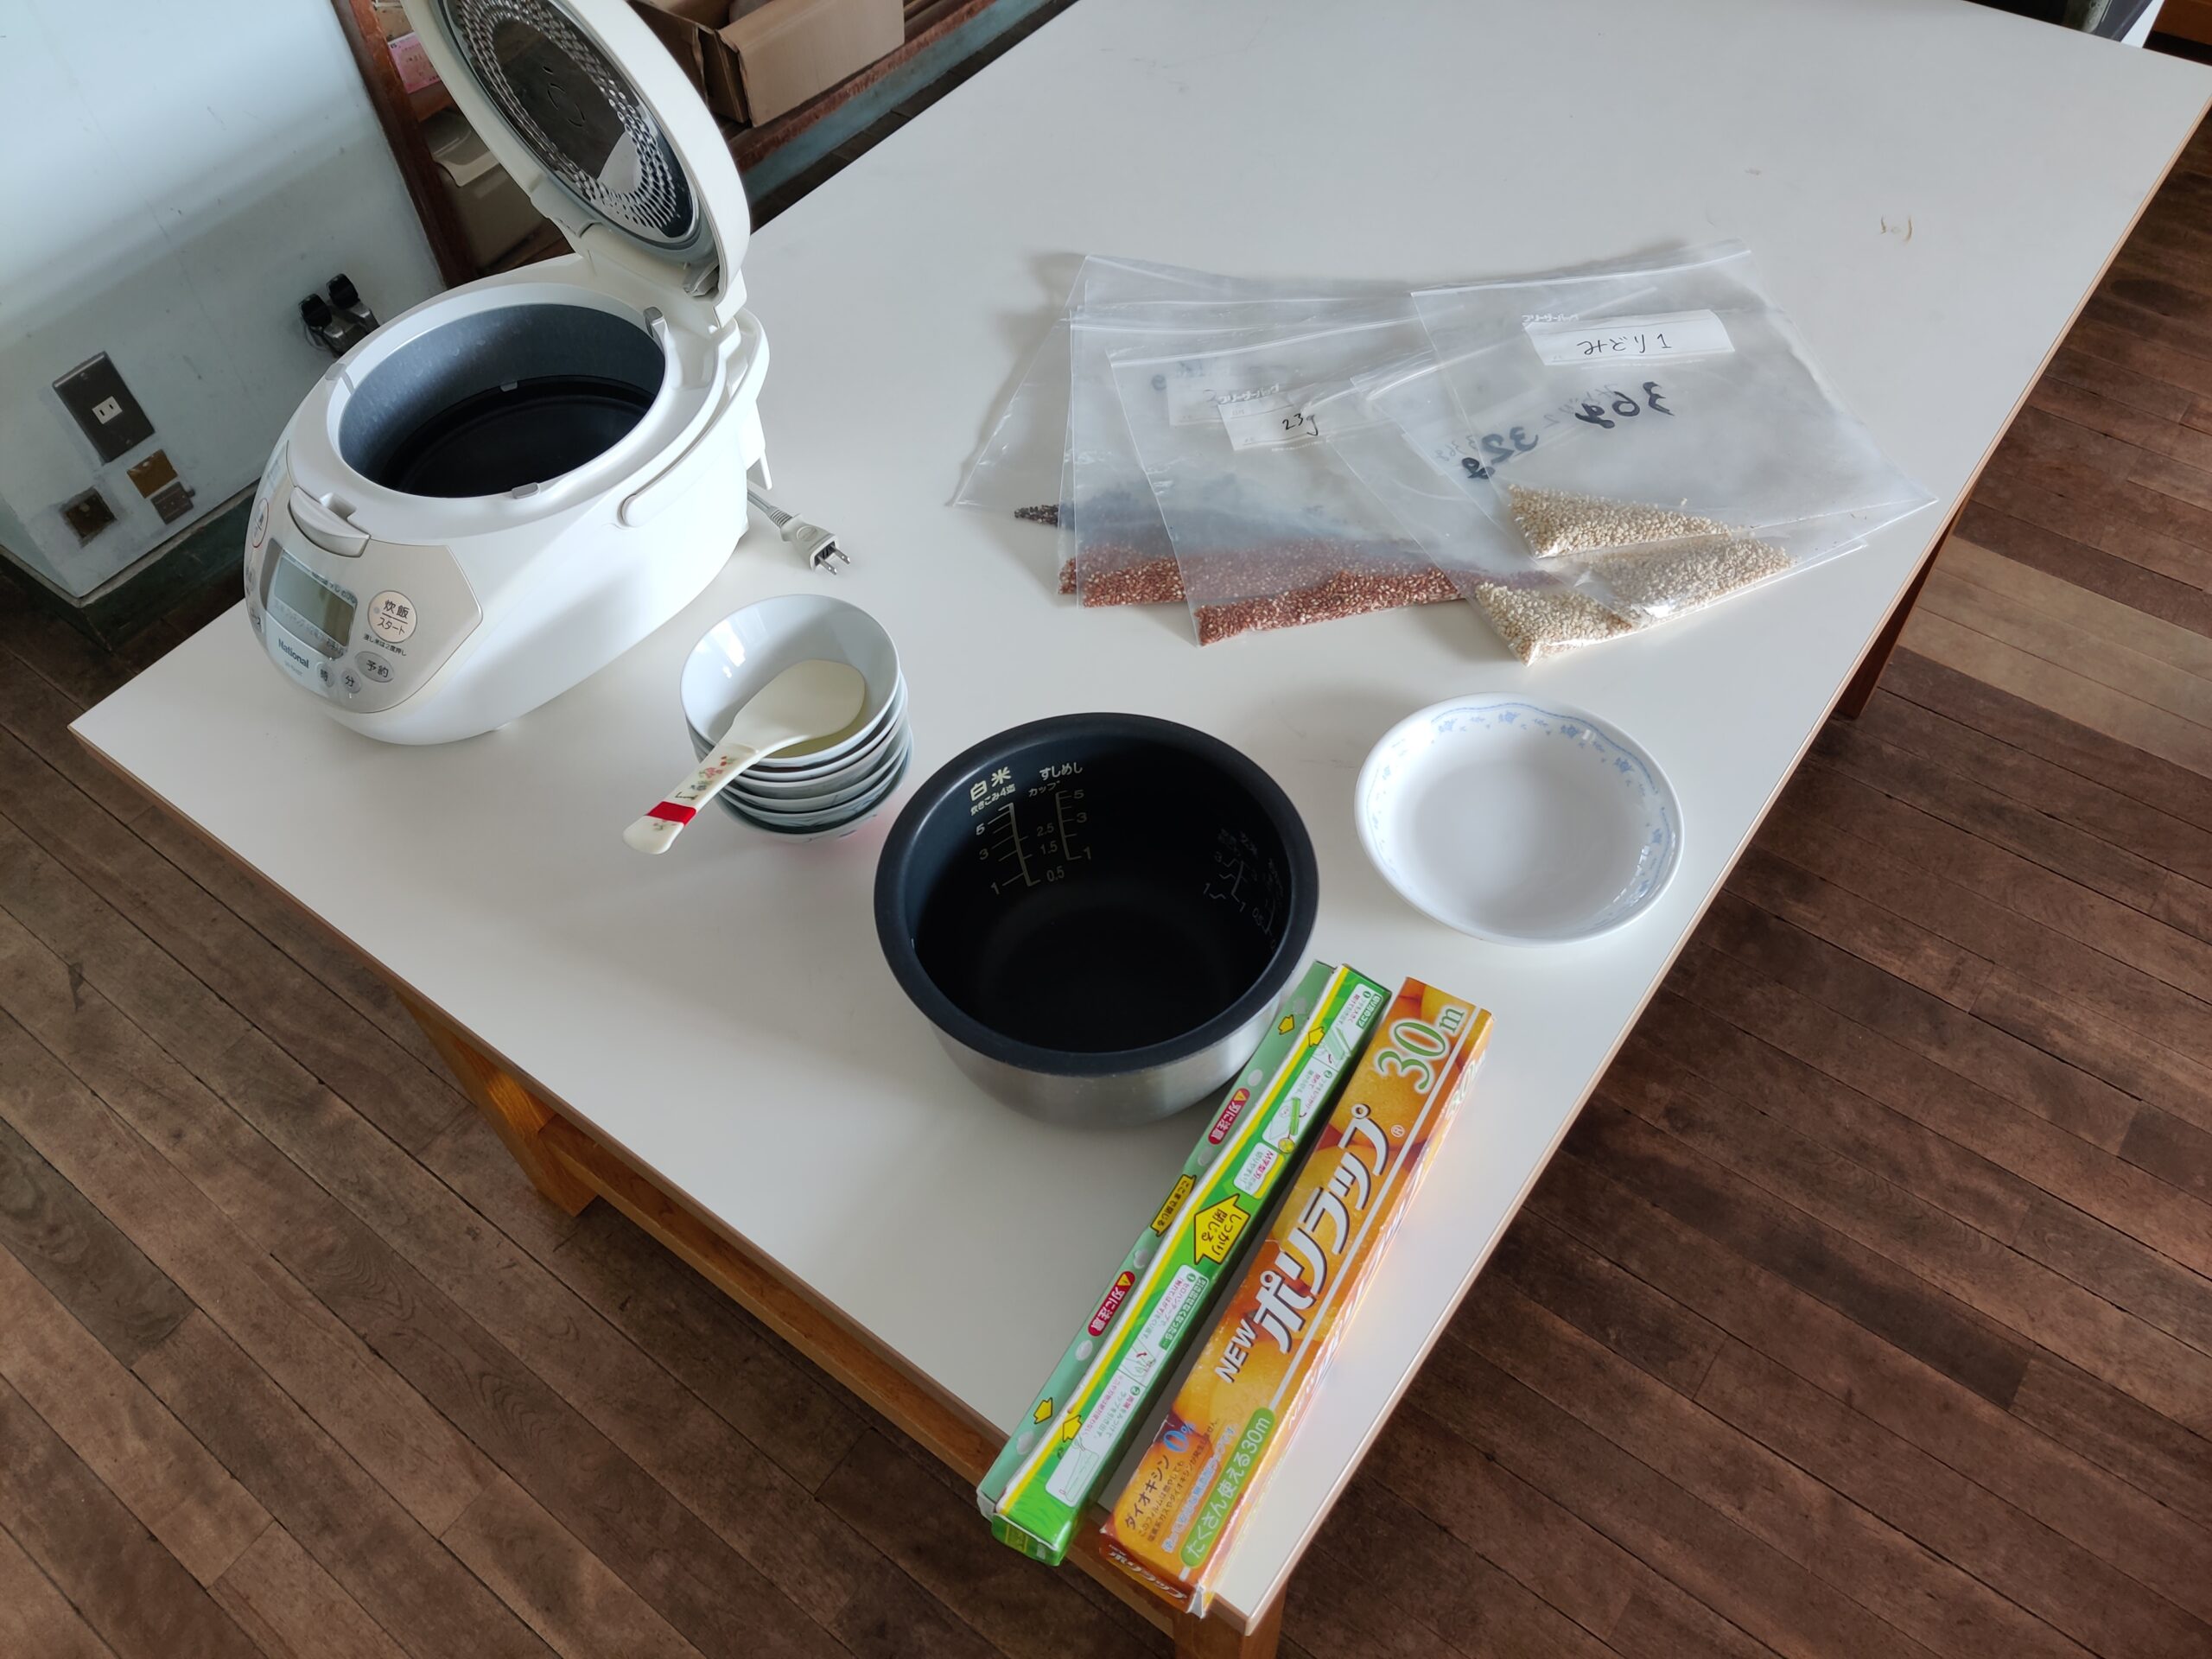
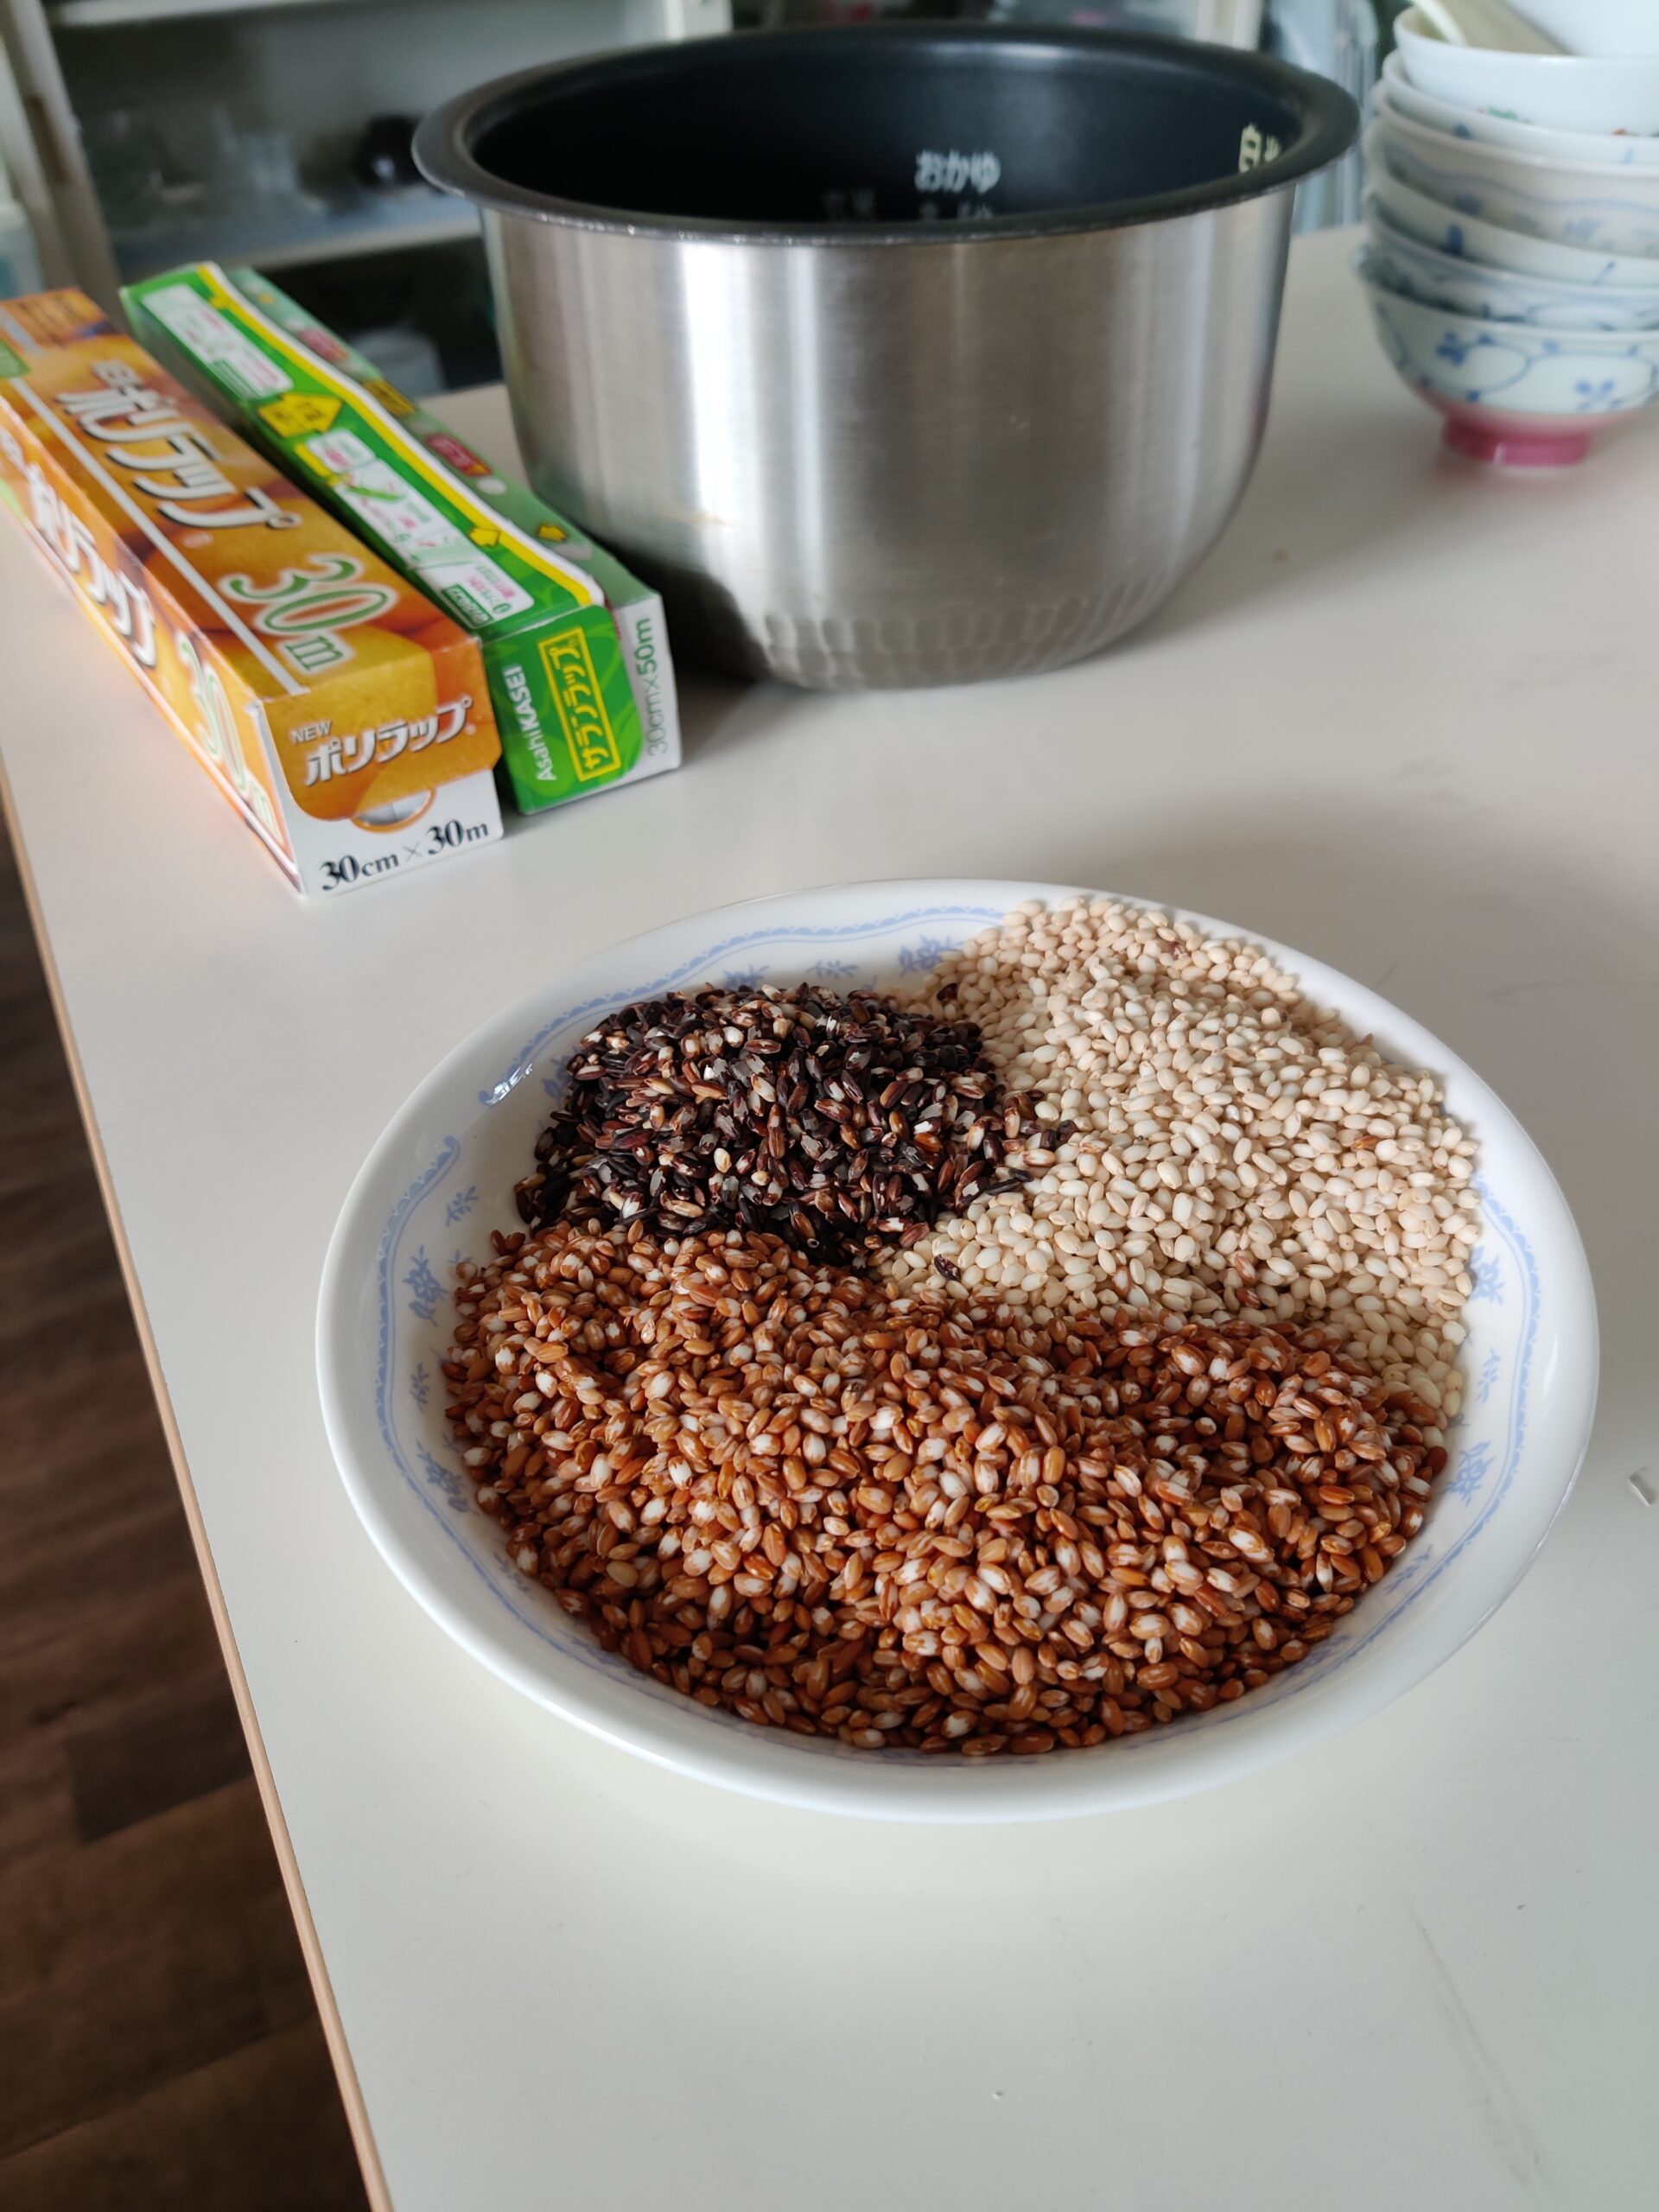
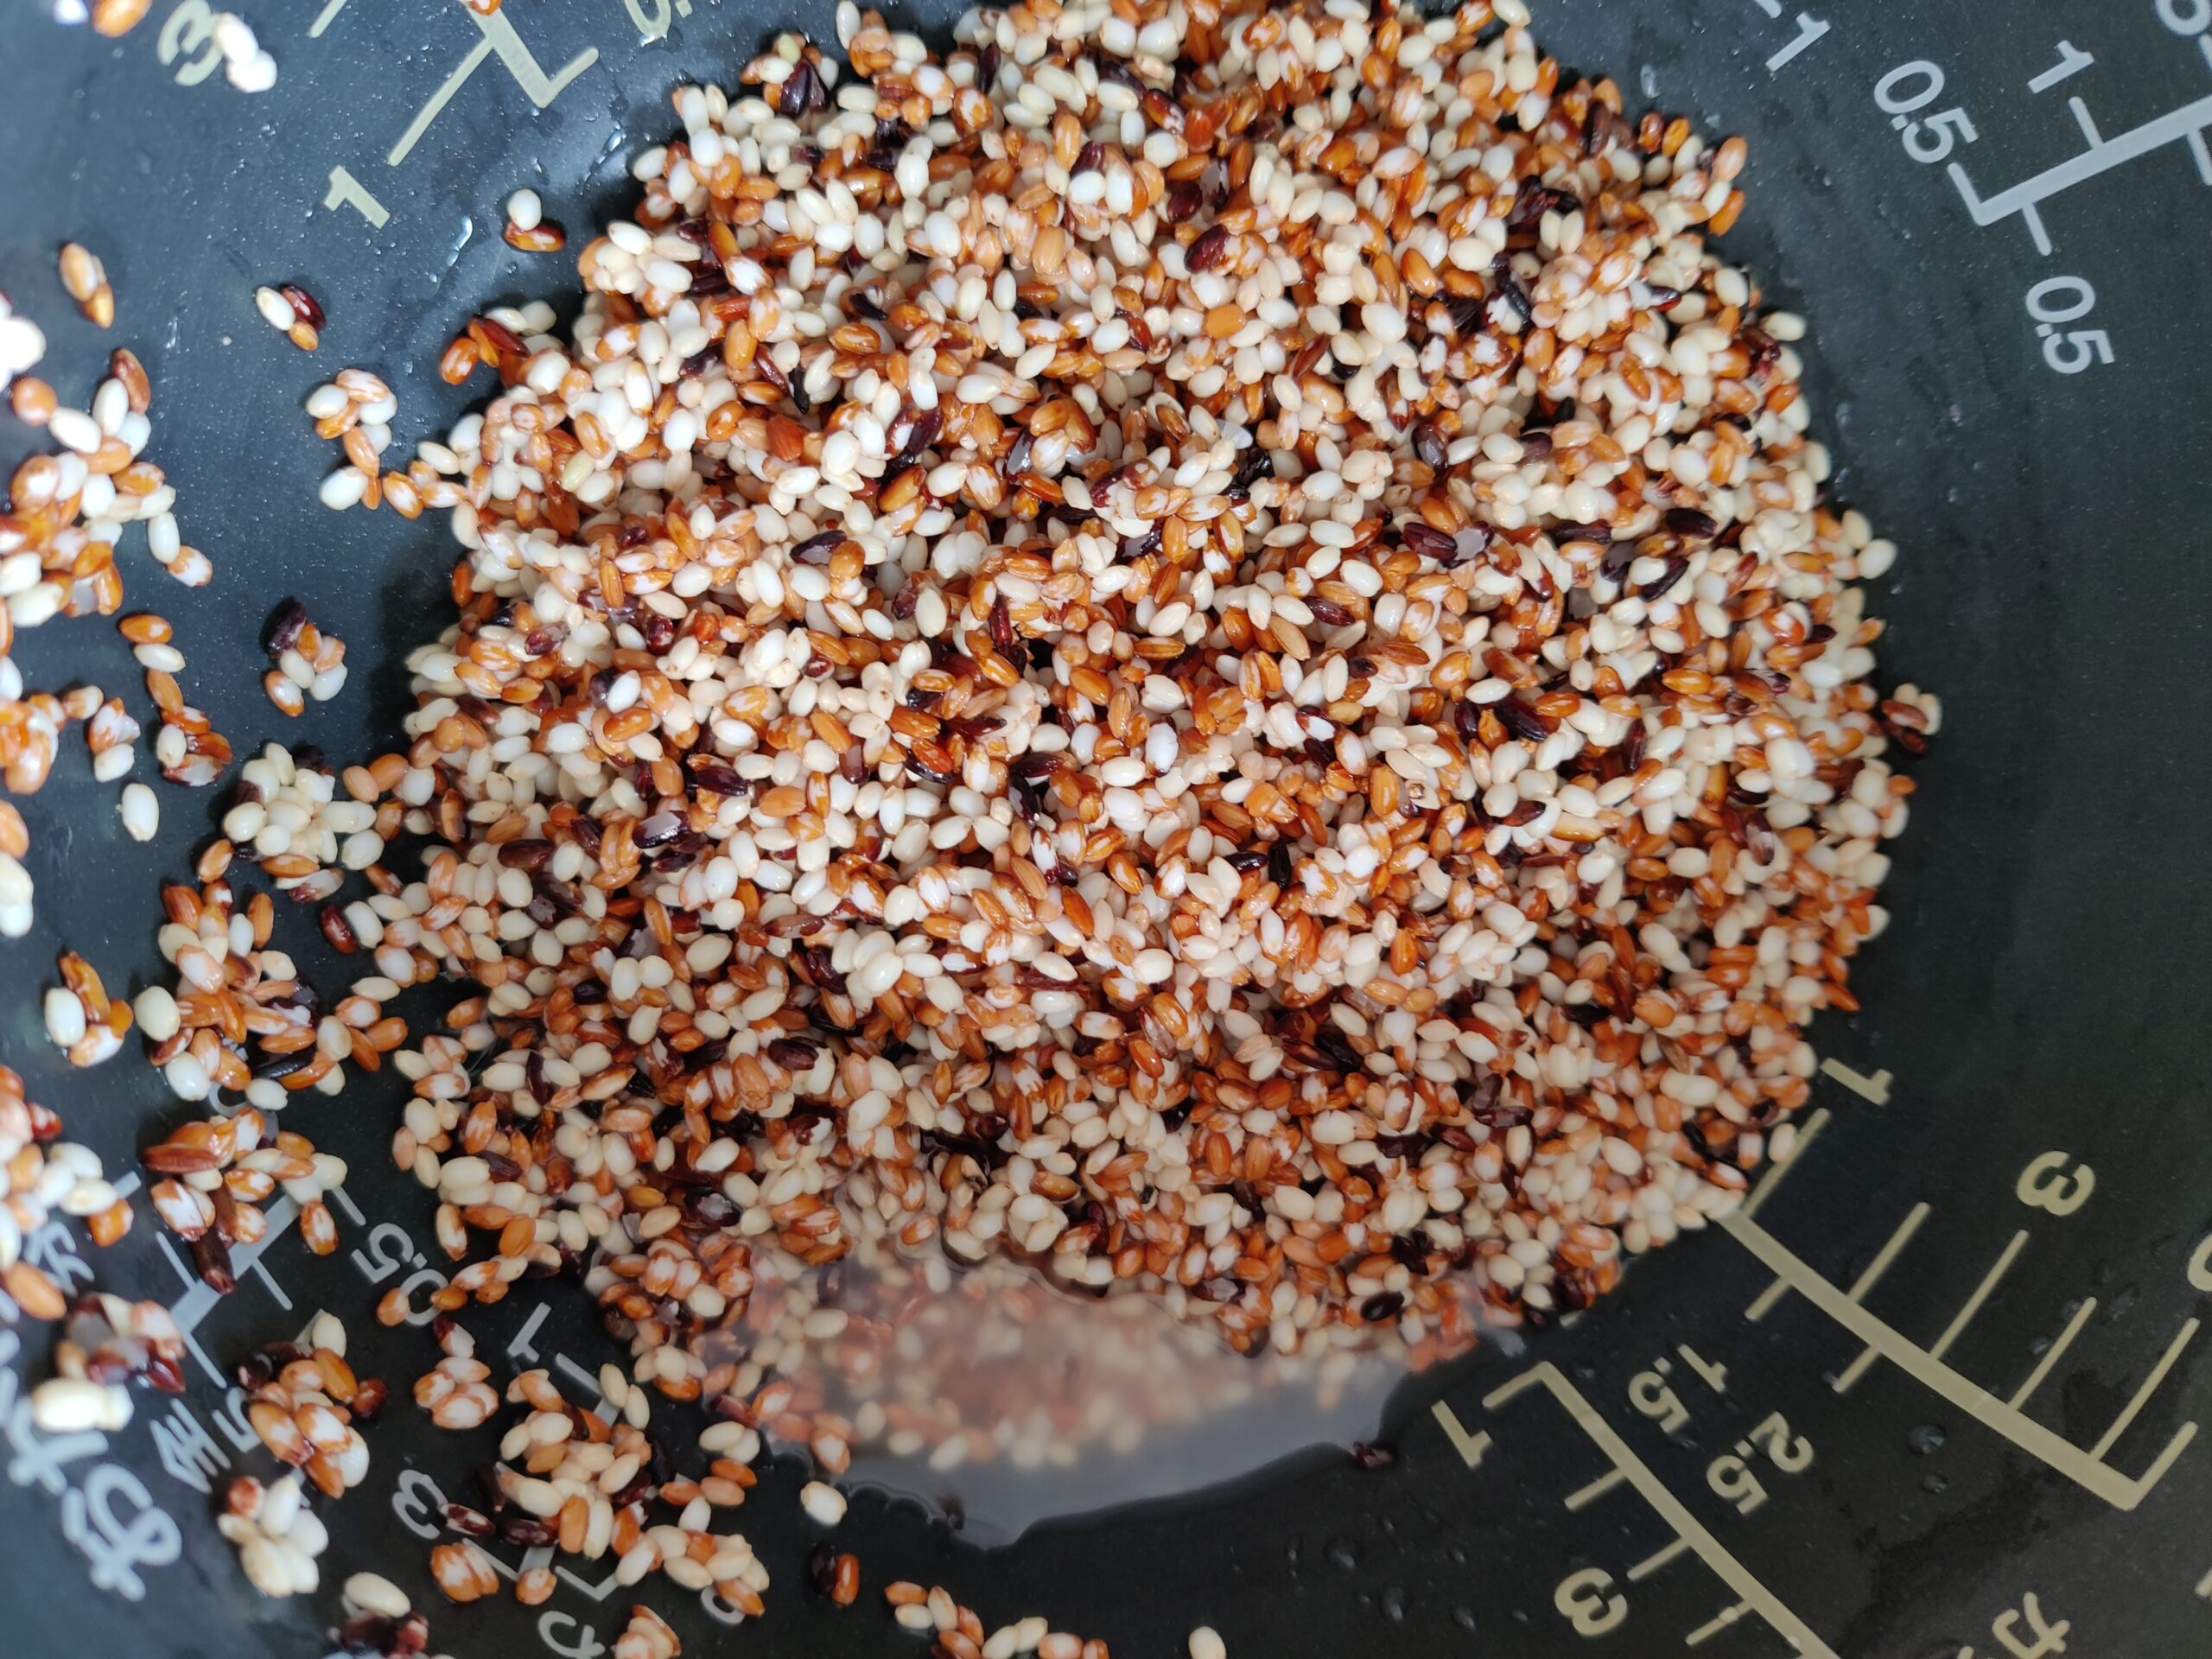
A few days before cooking the rice I went around the school checking who had helped and how many times they had joined in. Children that had helped out more than once I invited to come and try the rice. The reactions of the kids on eating the rice were really good, with them all saying it was really tasty.
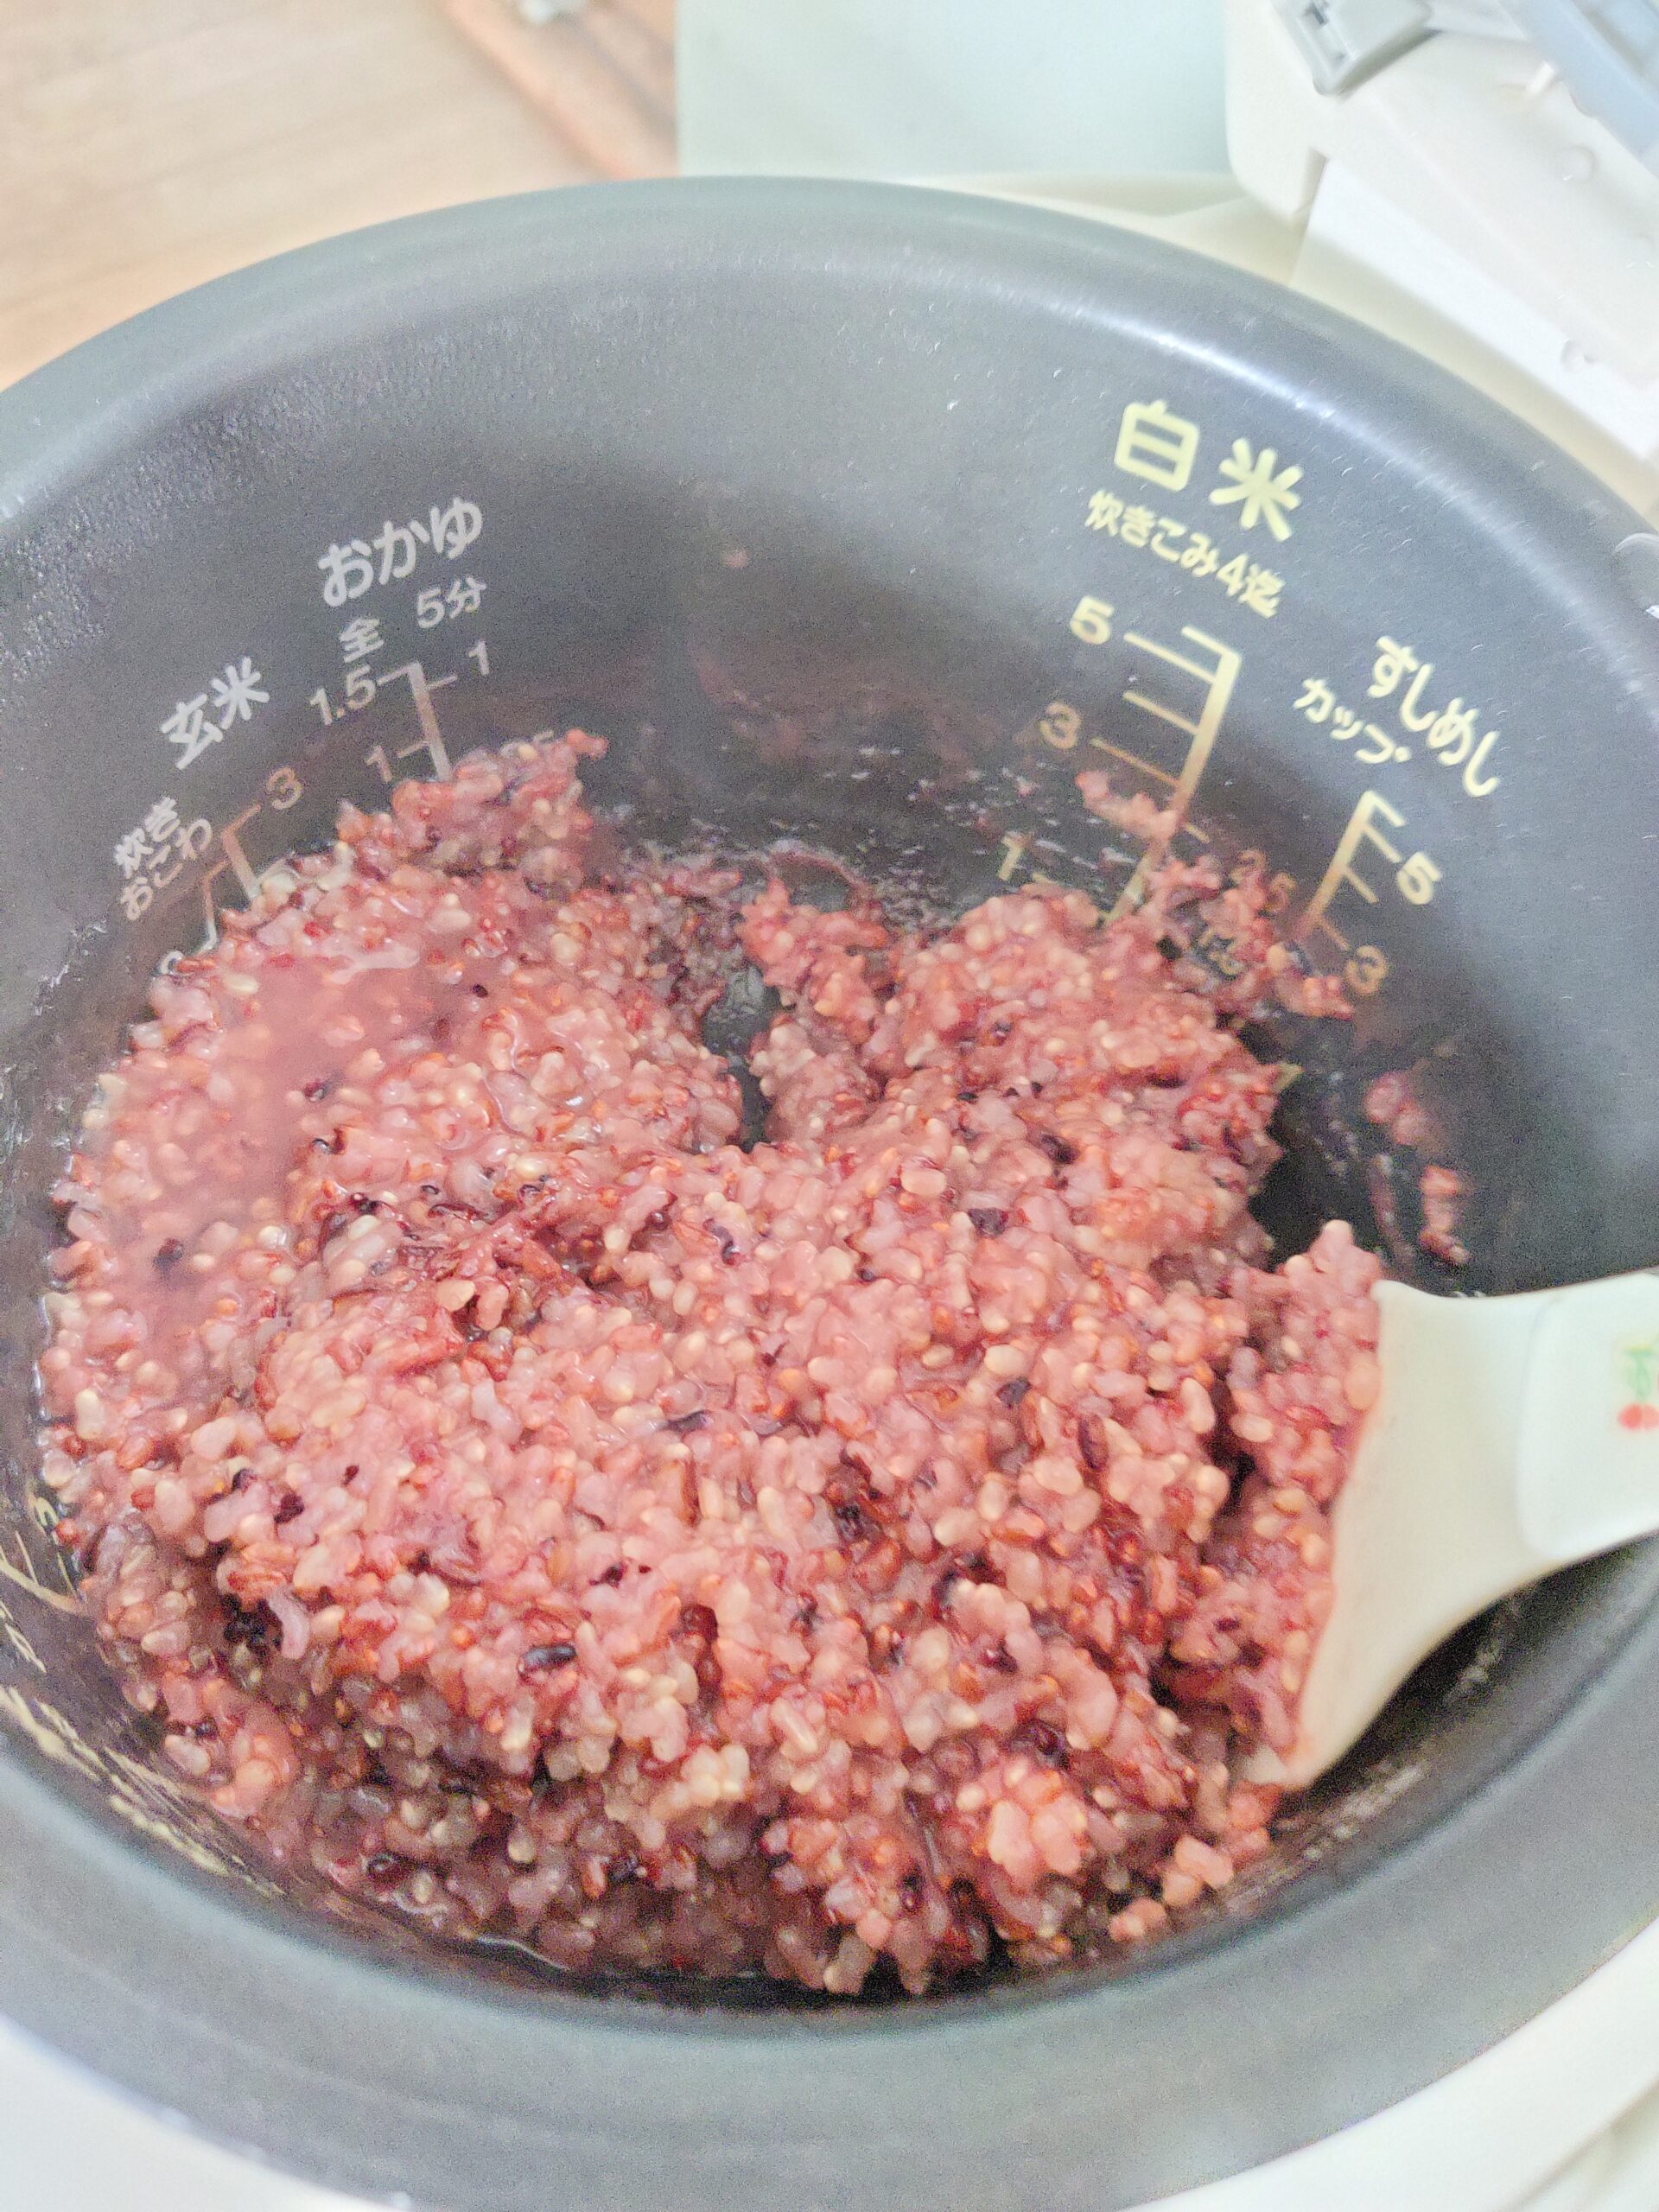
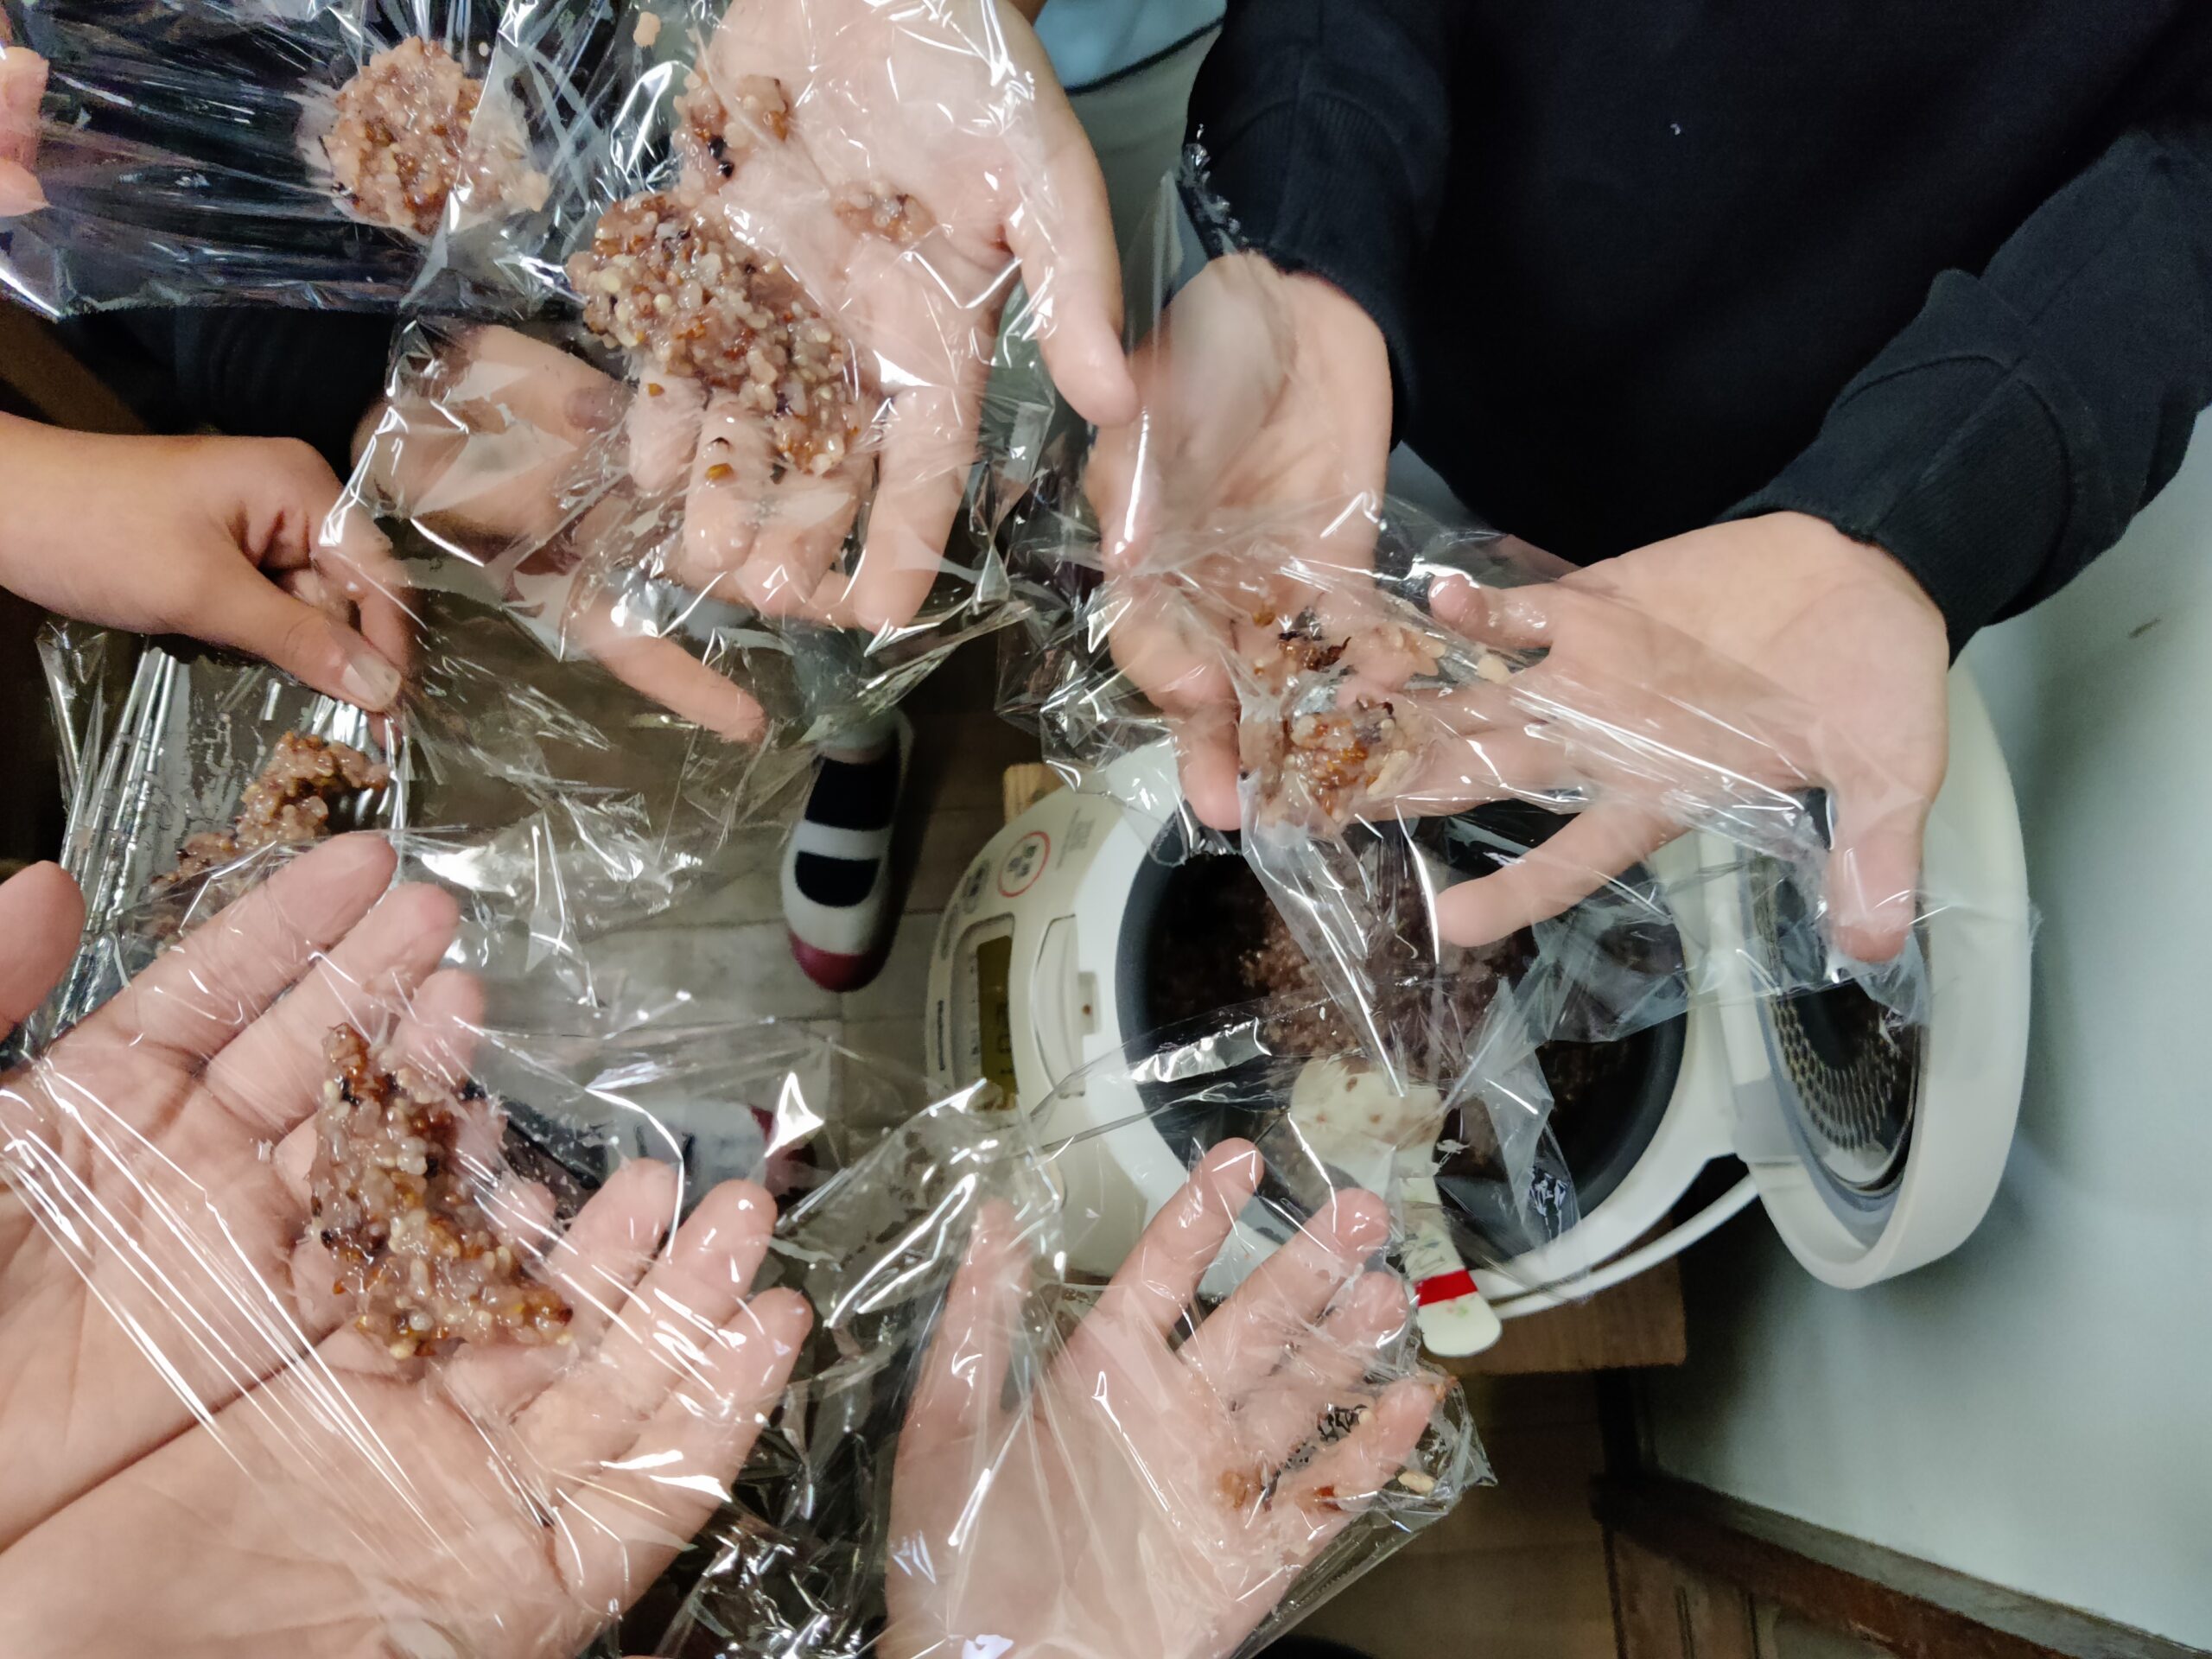
Although I had eaten white rice with red rice mixed in before (which is served at some restaurants), eating ancient rice all mixed together was a novel experience. The texture was soft and slightly chewy, while the taste was sweet but with a complex earthy flavour similar to brown rice.
Thank you so much for reading. I hope you found this series interesting. I am planning to write one more blog post on the bucket rice I grew at another school. At that school I encountered some interesting challenges that will be informative for anyone who is trying to grow rice in buckets themselves.
Leave a Reply